How to paint a mural on a wall – step by step
Plan, prime, transfer and paint a mural – from a bedroom wall to a façade. Seven steps, honest method comparison and how long each stage takes
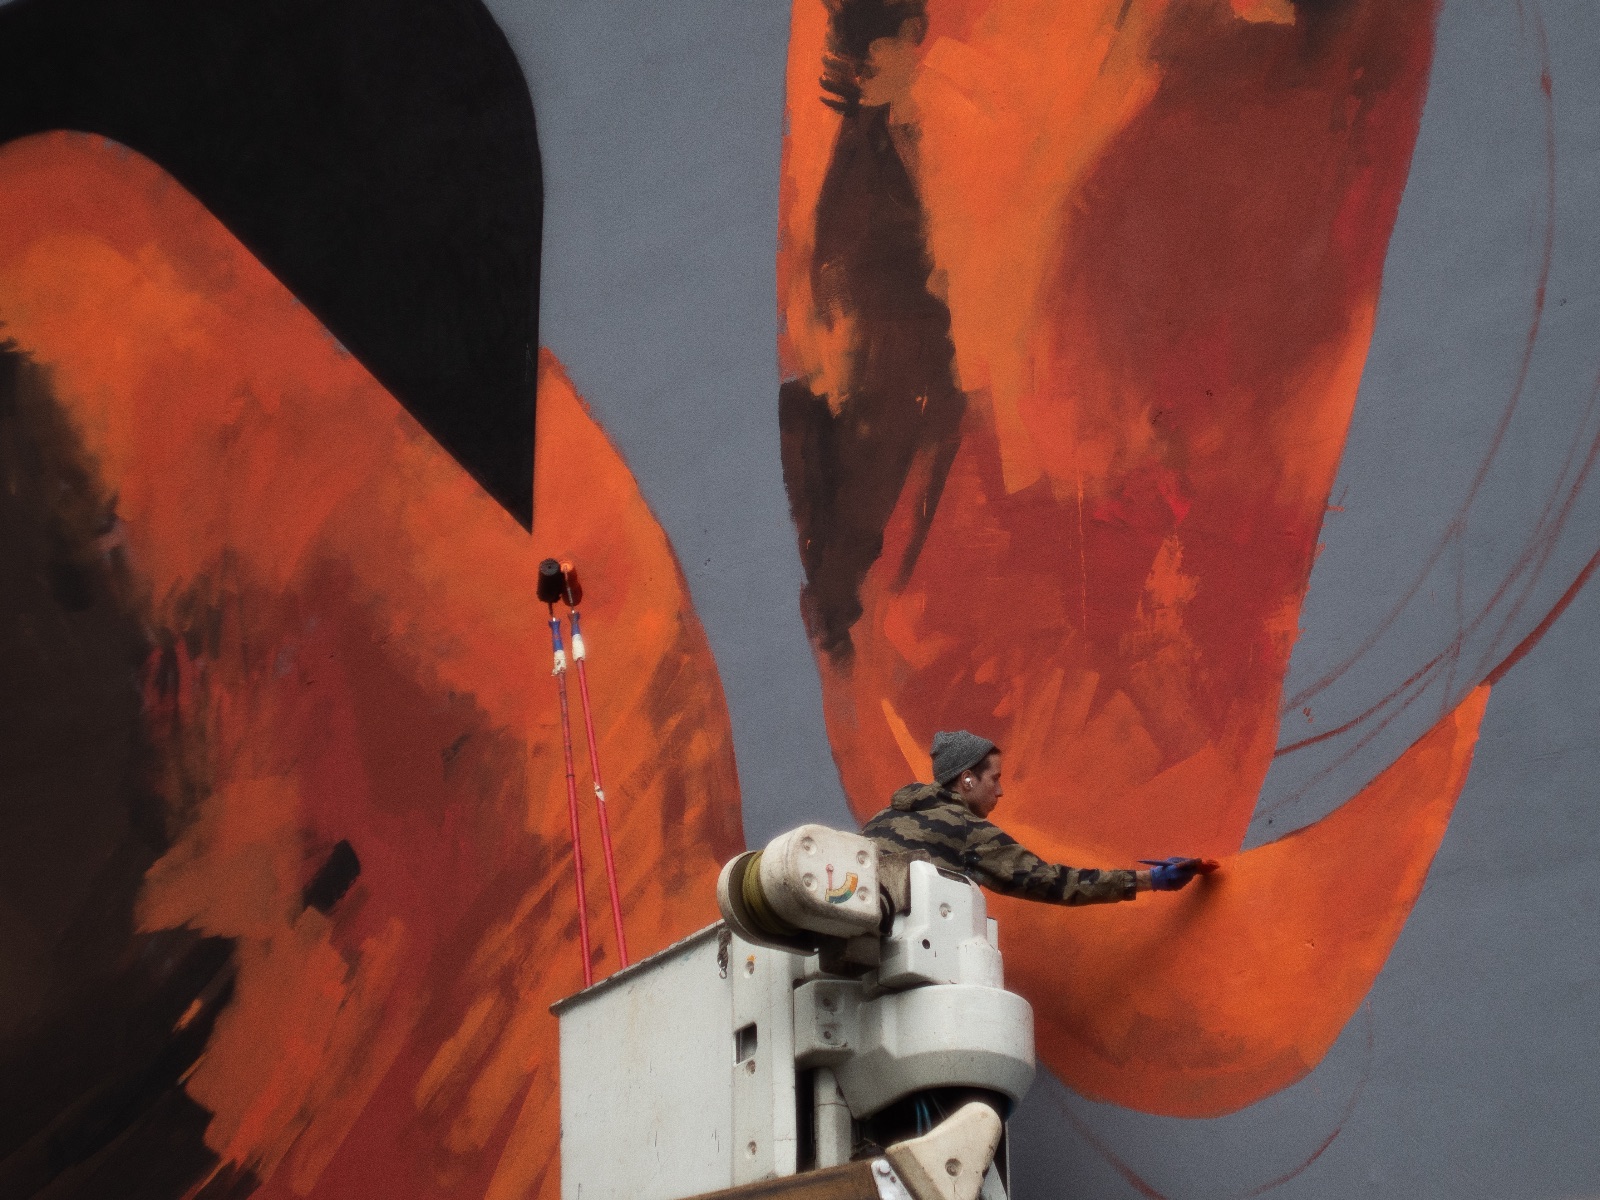
Short answer: design your mural in the wall's proportions, choose paint for the surface, clean and prime the wall, transfer the design, block in the base colours, add details and lines, then seal it if it lives outside. The step that decides how long everything takes is the transfer – and the right method depends on the size of the wall.
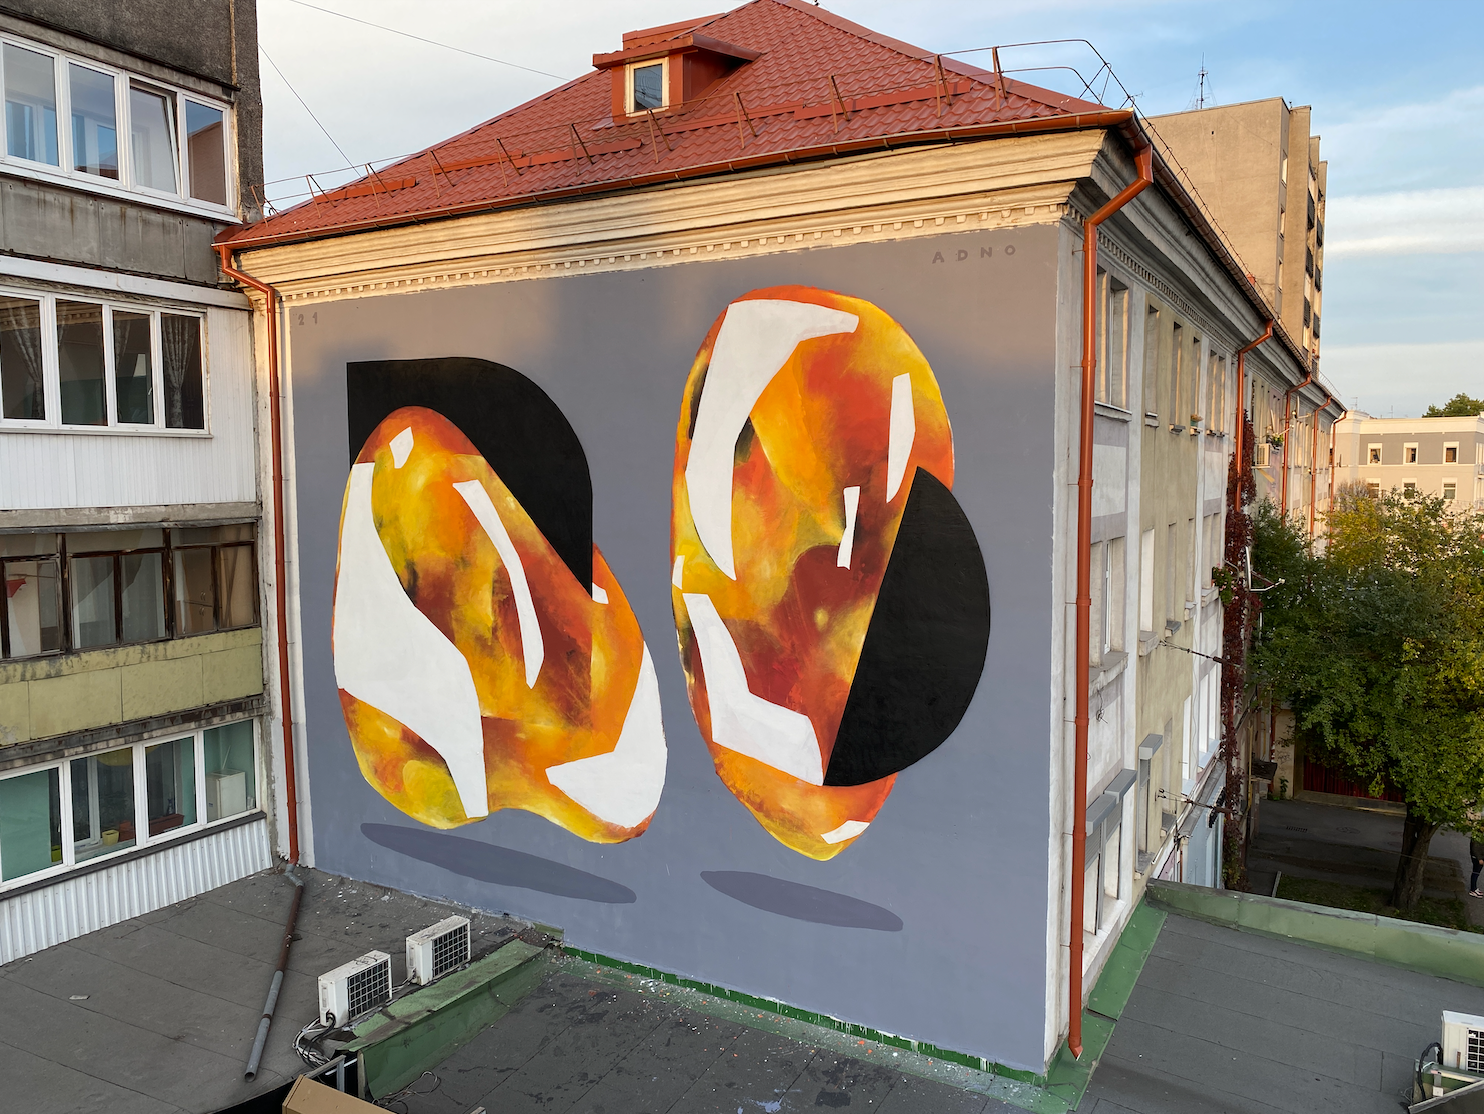
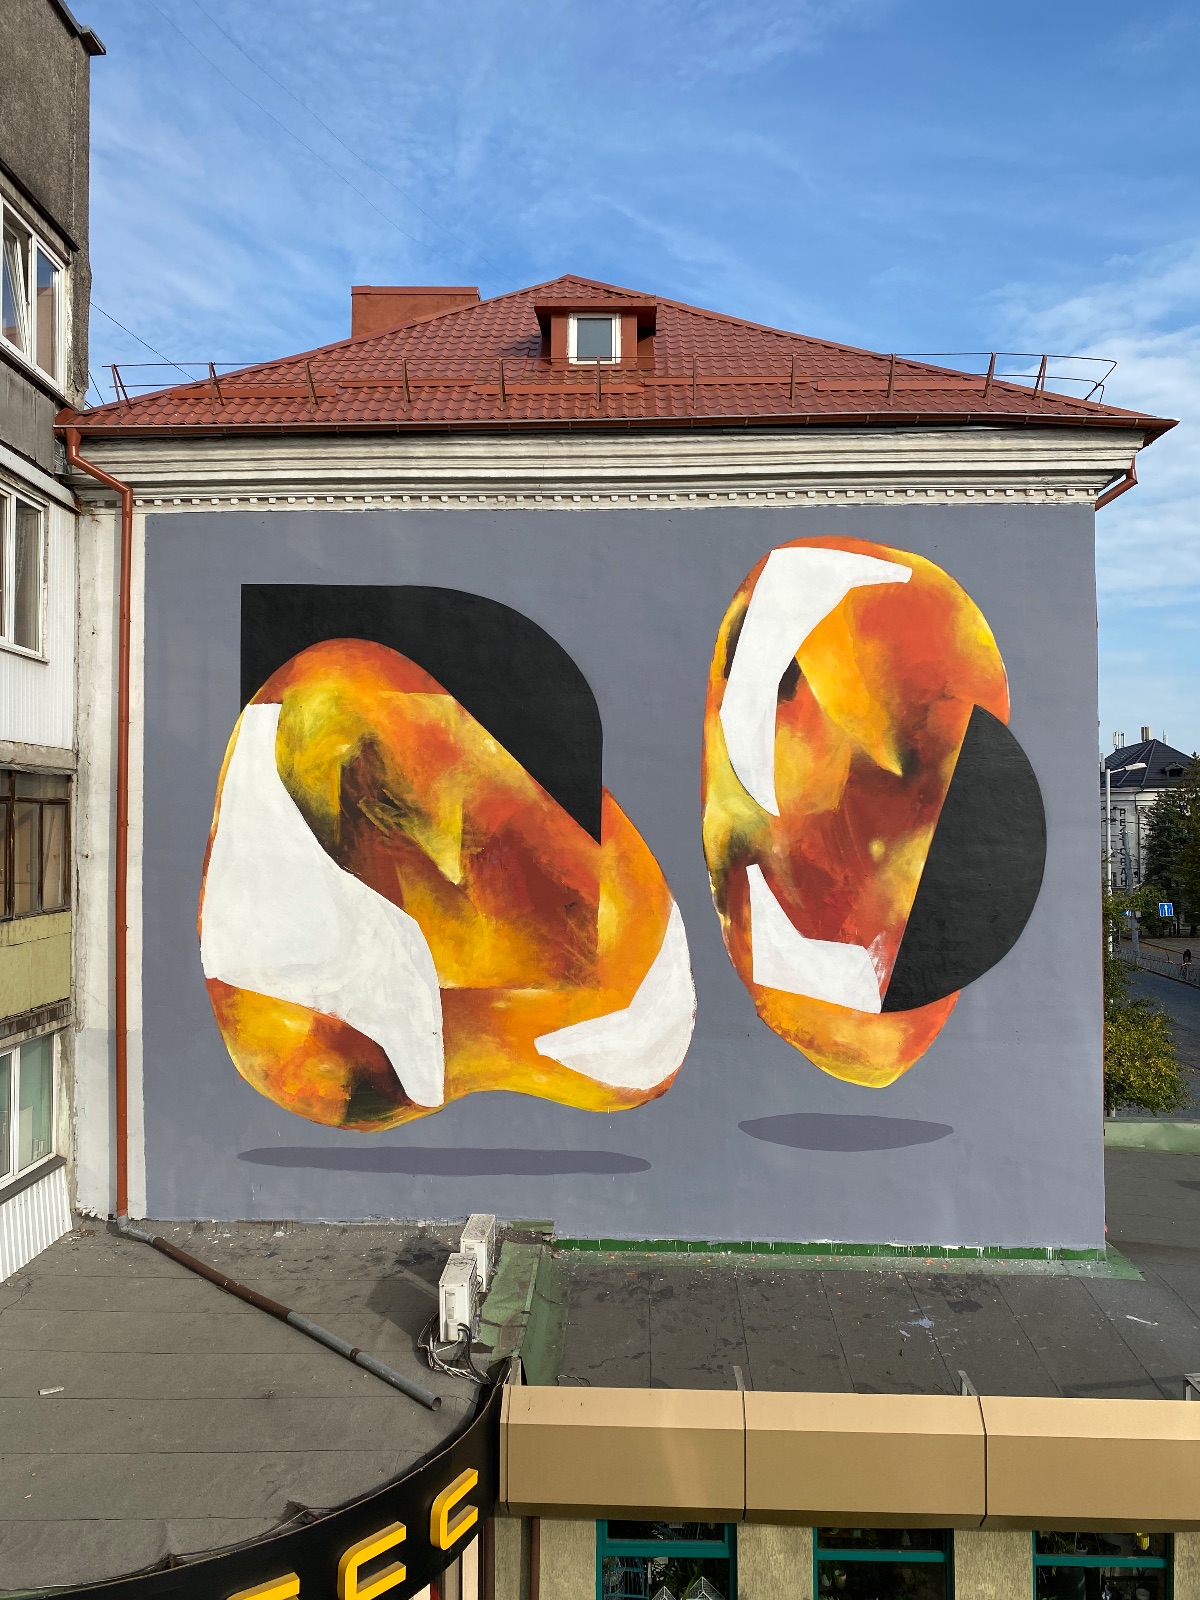
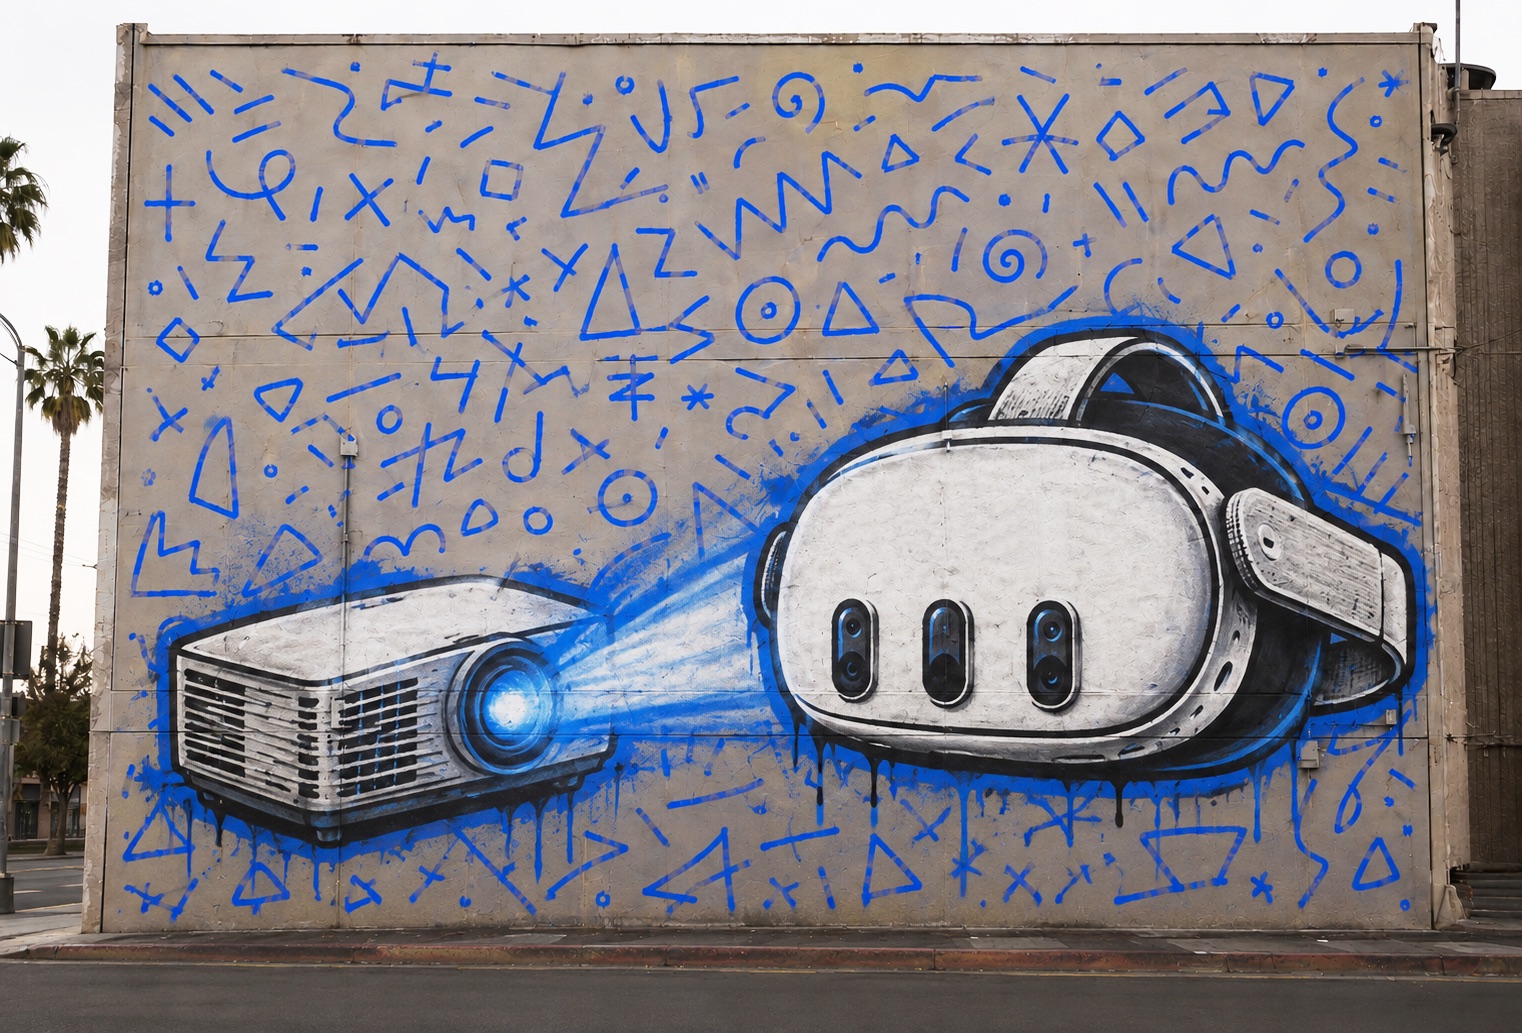
Mural by Andrey Adno, artist and founder of Sketchar.
Before you start: the size of the wall decides the method
Most mural guides are written for a bedroom wall. That's one job. A garage door is another. A four-storey façade is a different trade altogether. Before you buy a single can, decide which one you're doing:
Scale | Typical size | Access | What changes |
|---|---|---|---|
Room | up to 3 m wide | floor, stepladder | Any interior paint works. Freehand or a paper grid is enough. |
Large wall | 3–10 m | ladder, scaffold tower | Exterior paint, primer, a proper transfer method. Proportions start to drift. |
Façade | 10 m+ | lift or scaffold, permits | Weatherproof system, planned stages, a transfer method you can trust from up close. |
Keep this table in mind. Every step below has a different answer depending on the row you're in.
Step 1 – Design at the wall's proportions
Measure the wall first, then design. Not the other way round.
Take the width and height, including windows, pipes, vents and anything else you'll paint around. Set your digital canvas – or your paper – to the same ratio. A 6 × 3 m wall is 2:1, so your sketch is 2:1. If you design on a random rectangle and "make it fit" later, the composition stretches or gets cropped on the wall.
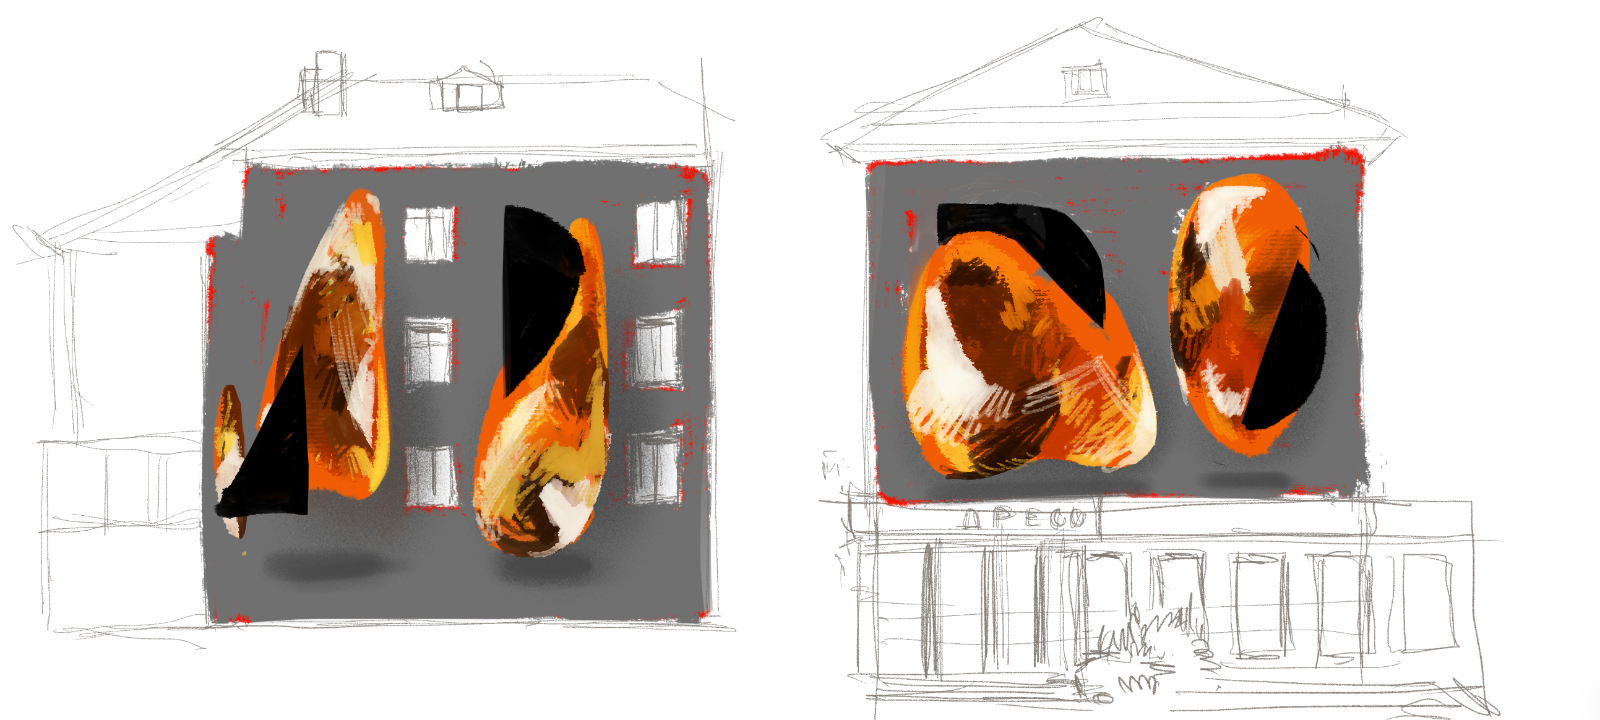
Photograph the wall straight on and sketch over the photo. You'll see how the design sits with the real doors, drainpipes and cracks, and it's the image you'll show a client or a building owner.
Keep the palette tight. Four to six colours is plenty for a first mural and makes paint planning simple.
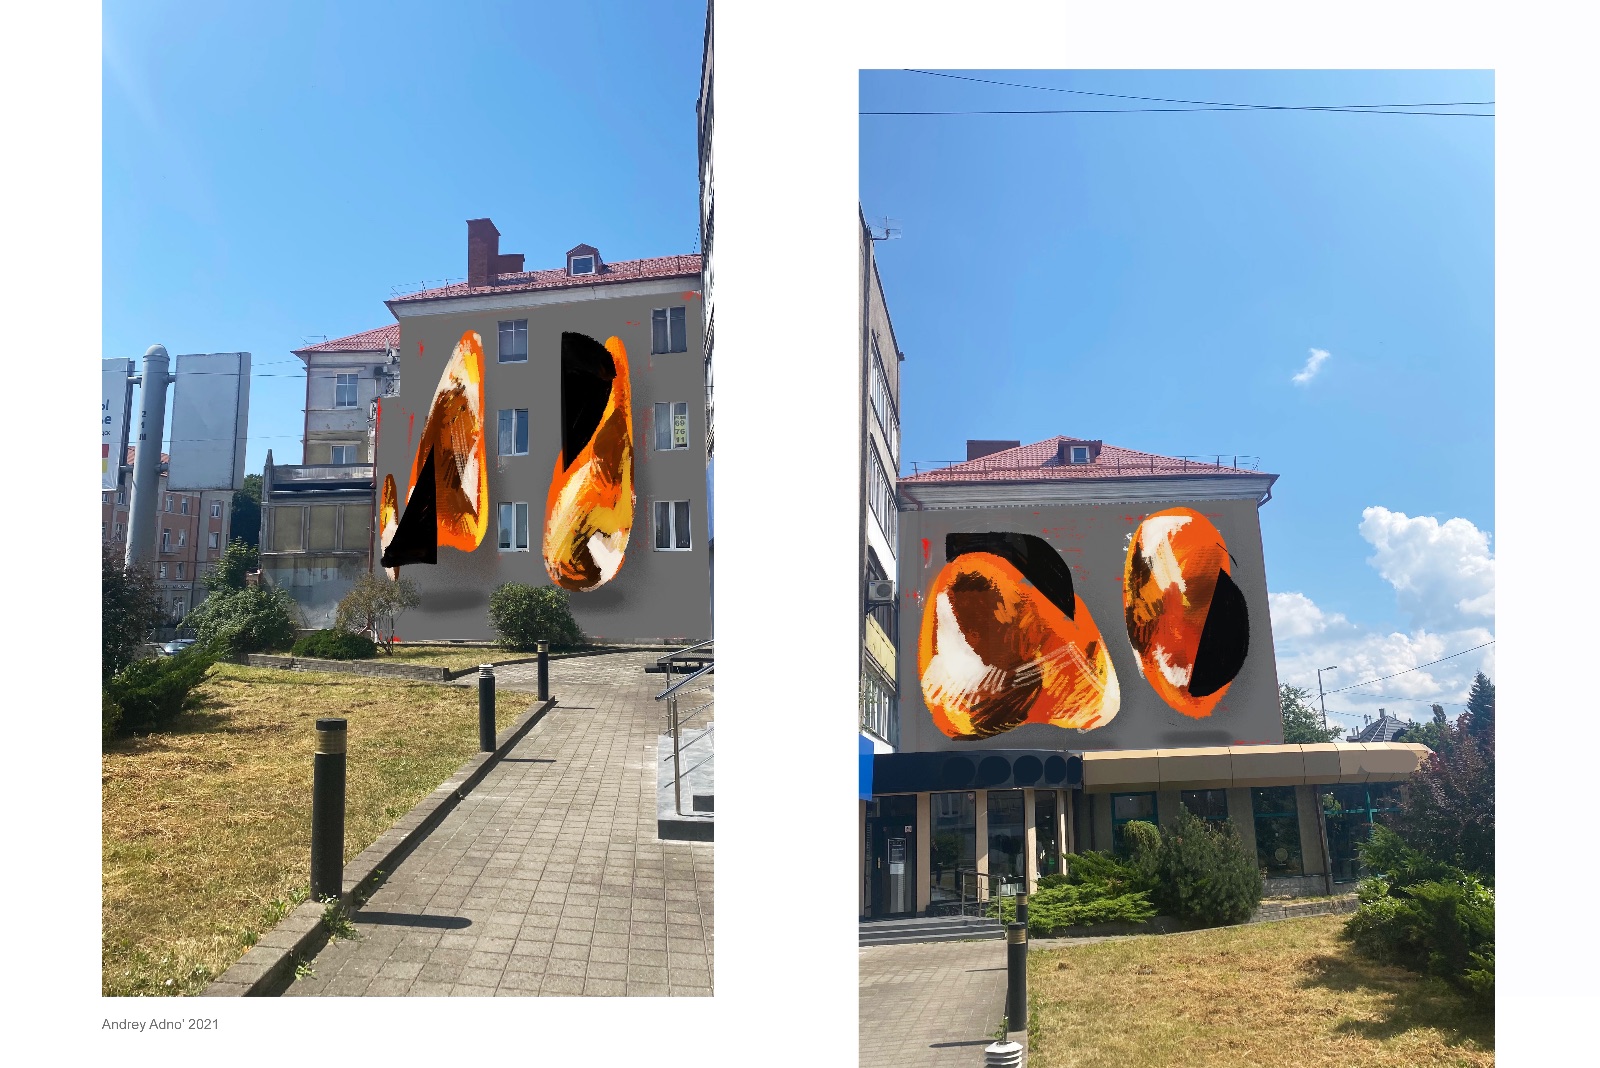
Mural sketch overlaid on a photo of the wall to check proportions: Andrey Adno
Step 2 – Choose paint and tools for the surface
Indoors: water-based acrylic or latex wall paint is cheap, easy to mix and easy to fix. Artist acrylics for small details.
Outdoors: exterior-grade acrylic masonry paint, or a system made for murals. It has to survive sun, rain and temperature swings.
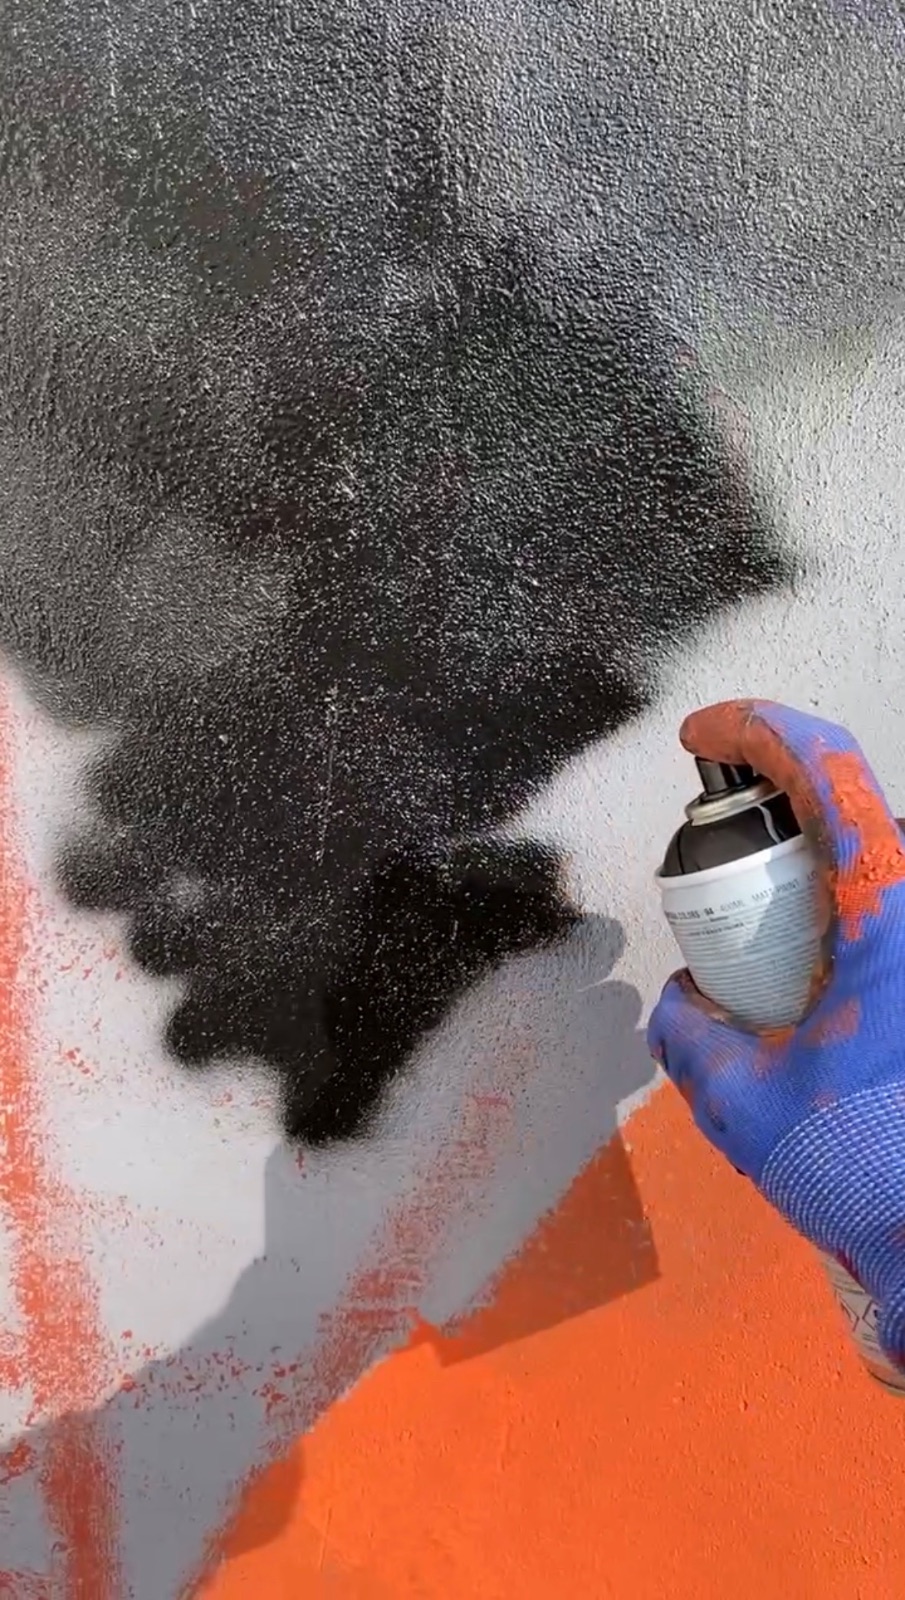
Spray paint: fast coverage and soft blends, the standard for street artists. Outdoors or with serious ventilation, always with a respirator.
Metal and wood: need their own primer first, or the paint peels.
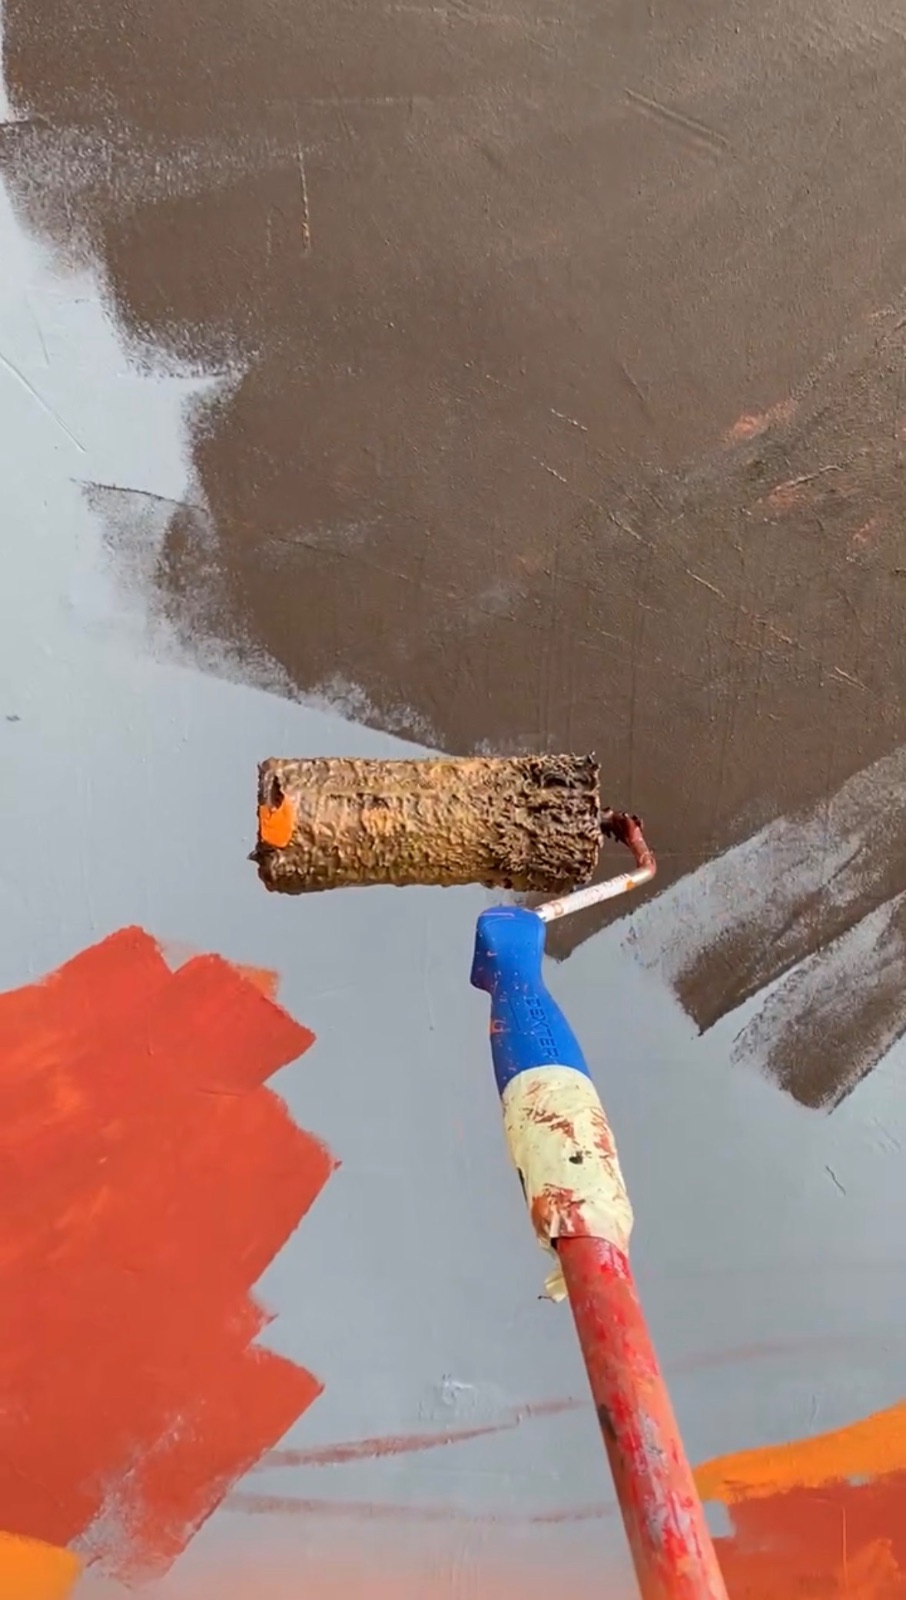
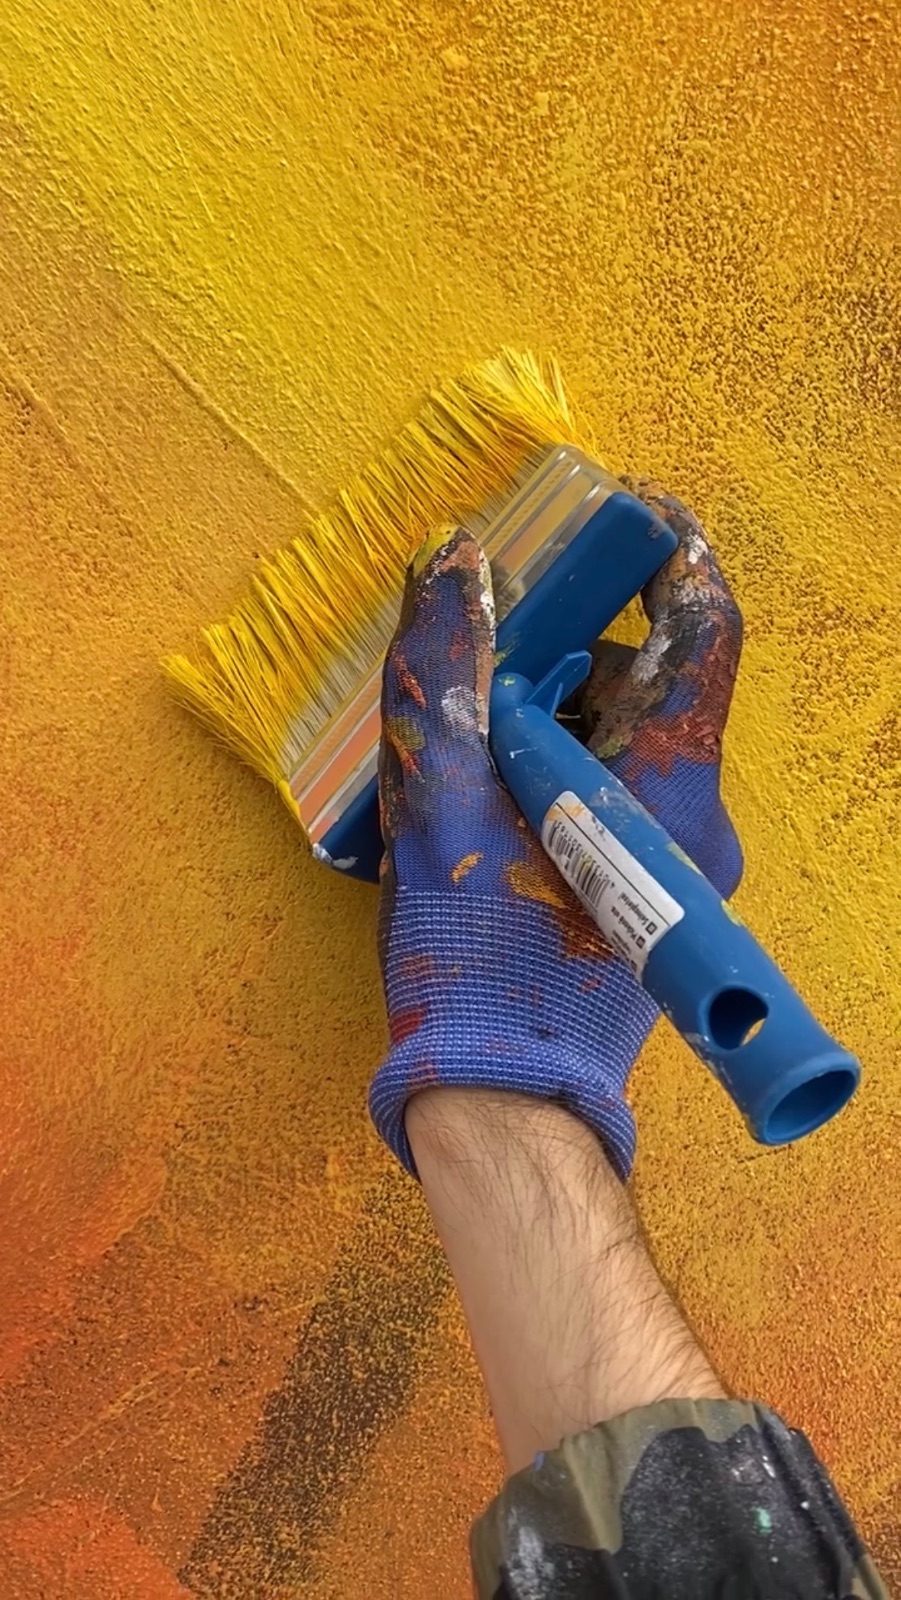
Brushes: a roller for big flat areas, wide flat brushes for edges, small round and liner brushes for details.
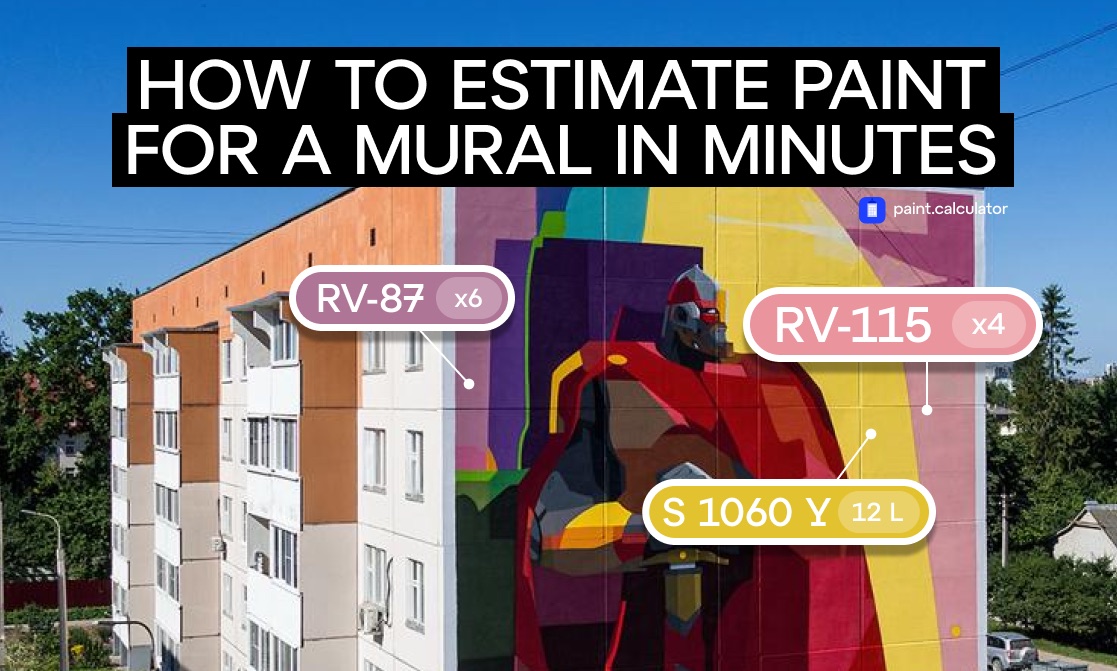
How much to buy is the question everyone gets wrong. Count it per colour, by area, not by guess – our Mural Paint Calculator does this from your design, including spray cans.
Step 3 – Clean and prime the wall
Paint only sticks as well as the wall under it.
Brush off dust, loose paint and cobwebs. Outdoors, wash the wall and let it dry completely – a day or more on masonry.
Fill cracks and holes. Small imperfections can disappear in a busy design; big ones will show.
Prime. On bare masonry, previously unpainted or chalky walls, primer is not optional. On a sound, painted interior wall you can often go straight to base colour.
If the background of your design is one colour, that colour can be your base coat.
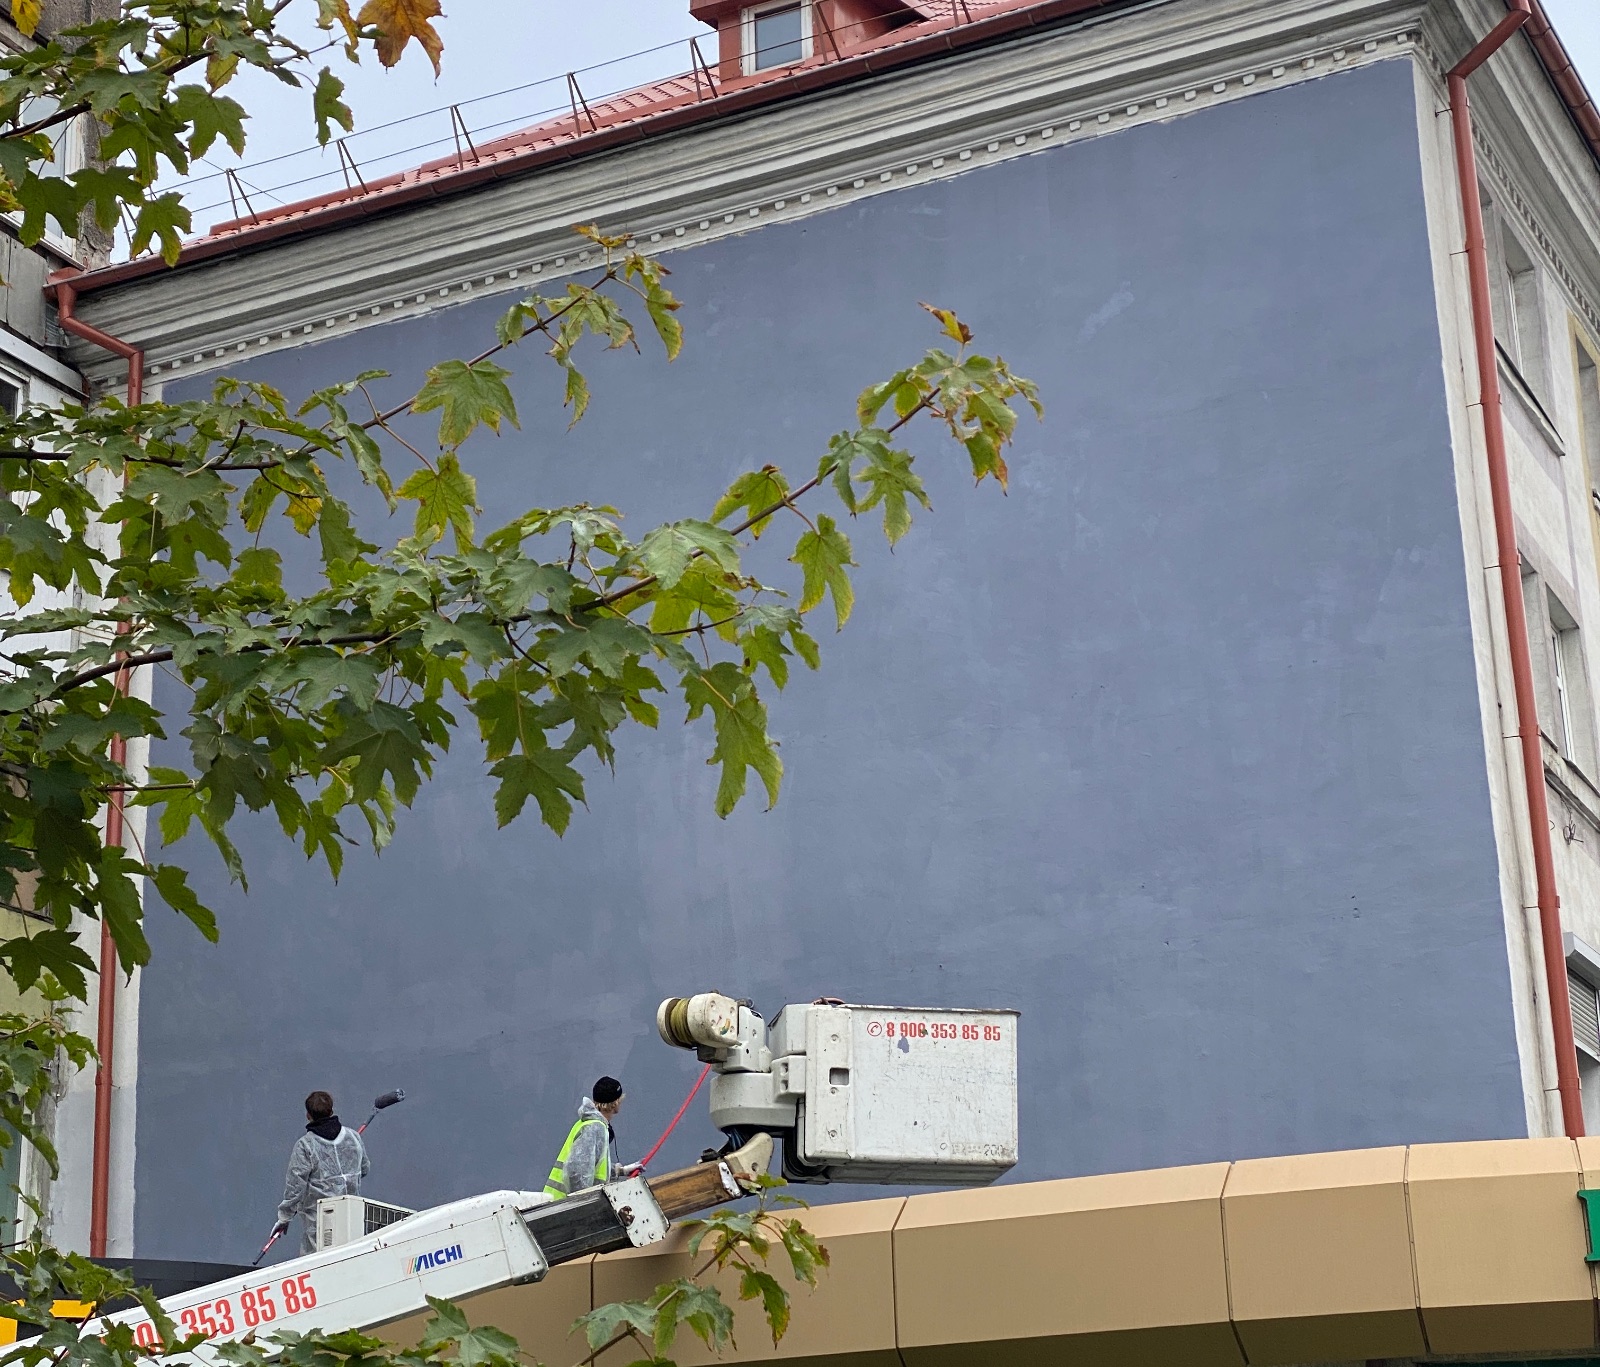
Priming a wall with a roller before painting a mural
Step 4 – Transfer the design to the wall
This is where murals are won or lost. A great sketch transferred badly becomes a mediocre wall. There are five ways to do it, and all of them work – for the right size.
Method | Best for | What it costs you | Where it breaks |
|---|---|---|---|
Freehand | Room scale, loose styles | Skill | Proportions drift past 2–3 m |
Grid | Any size, any budget | Time – marking and counting squares | Slow on big walls; grid lines to cover |
Doodle grid | Large walls, street style | Freehand confidence | Needs practice to read the doodle |
Projector | Room to large wall | A projector, darkness, distance | Daylight, distance and keystone distortion |
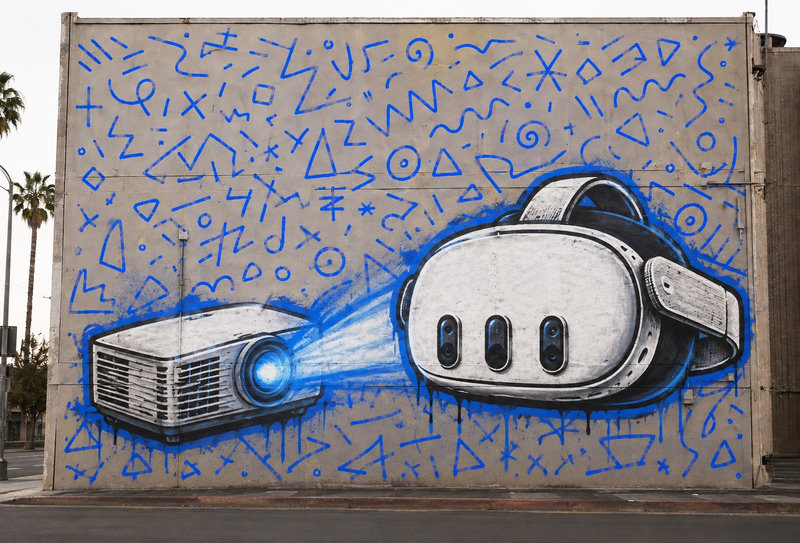
AR / VR headset | Large wall to façade | A headset | Headset required; learning the app |
Grid. Draw a grid over your sketch, draw the same number of squares on the wall in light chalk or pencil, then copy square by square. It's the oldest method and still the most reliable. It's also the slowest: on a big wall, marking the grid can take longer than painting the first colours.
Doodle grid. Instead of squares, cover the wall with random loose marks, photograph it, overlay the sketch on the photo, then find each part of the design by the nearest doodle. Much faster than a square grid once you trust it.
Projector. Project the design and trace. Works well indoors at night. Outside, daylight washes the image out, the projector has to stand far back for a big wall, and any angle distorts the image. Use it as a guide, not a template.
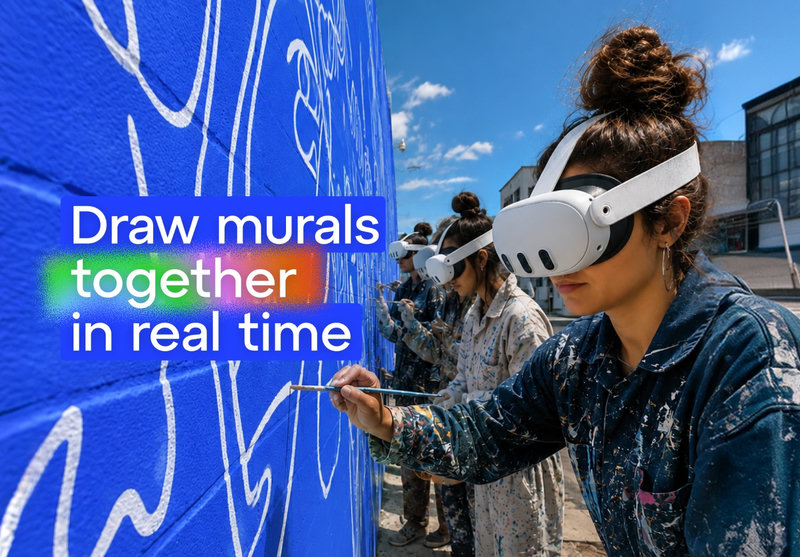
AR / VR headset. The sketch is anchored to the wall in the headset, at full size, and stays in place while you move. You trace directly, in daylight, with no grid to erase. On large walls this is where the time saving is largest.
Now there are no lighting issues, no projection costs, and drafting on giant surfaces has become a much more professional process.
– Dukstill, mural artist, Turkey
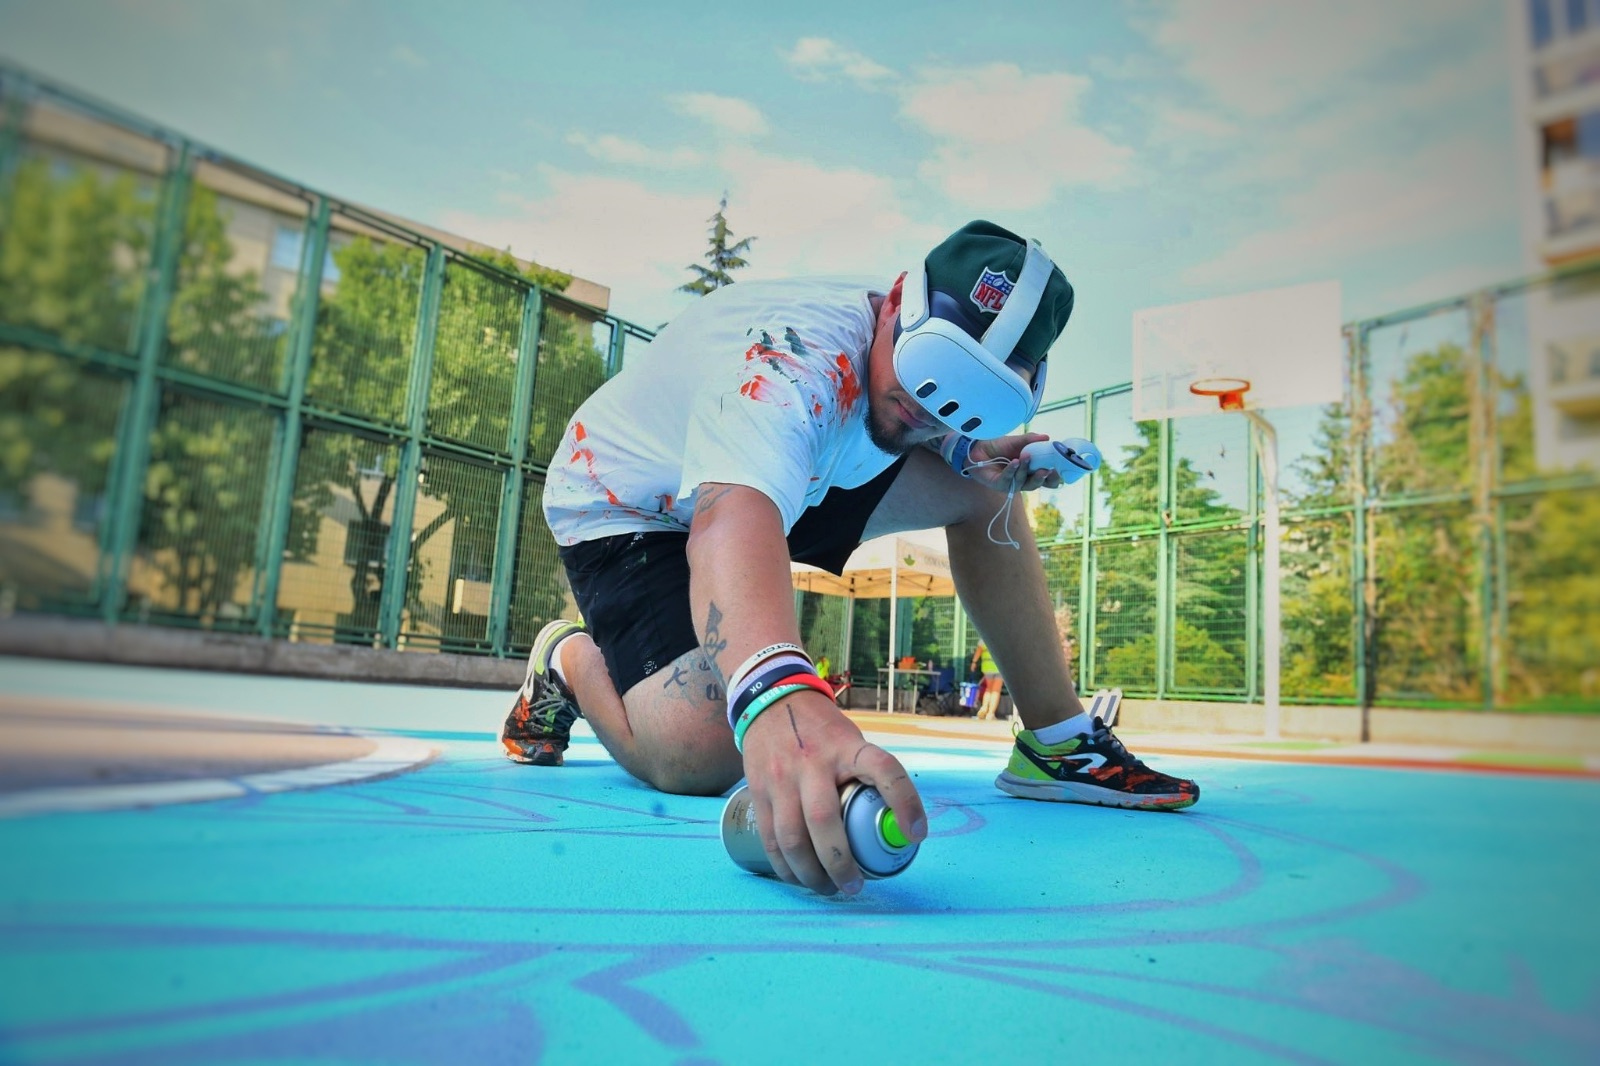
Muralist Dukstill transferring a design to a wall using a VR headset and the Sketchar app
We compare the methods in depth – with time per wall and what goes wrong – in How to scale a mural: projector vs. grid vs. doodle grid vs. AR/VR.
Step 5 – Block in the base colours
Paint large areas first, background to foreground. Cut in the edges of each shape with a brush, fill with a roller. Let each colour dry before painting next to it, or you'll get muddy borders.
Keep a small pot of the base colour ready as your eraser. Correcting a mistake with the exact background colour is invisible; correcting it with "close enough" is not.
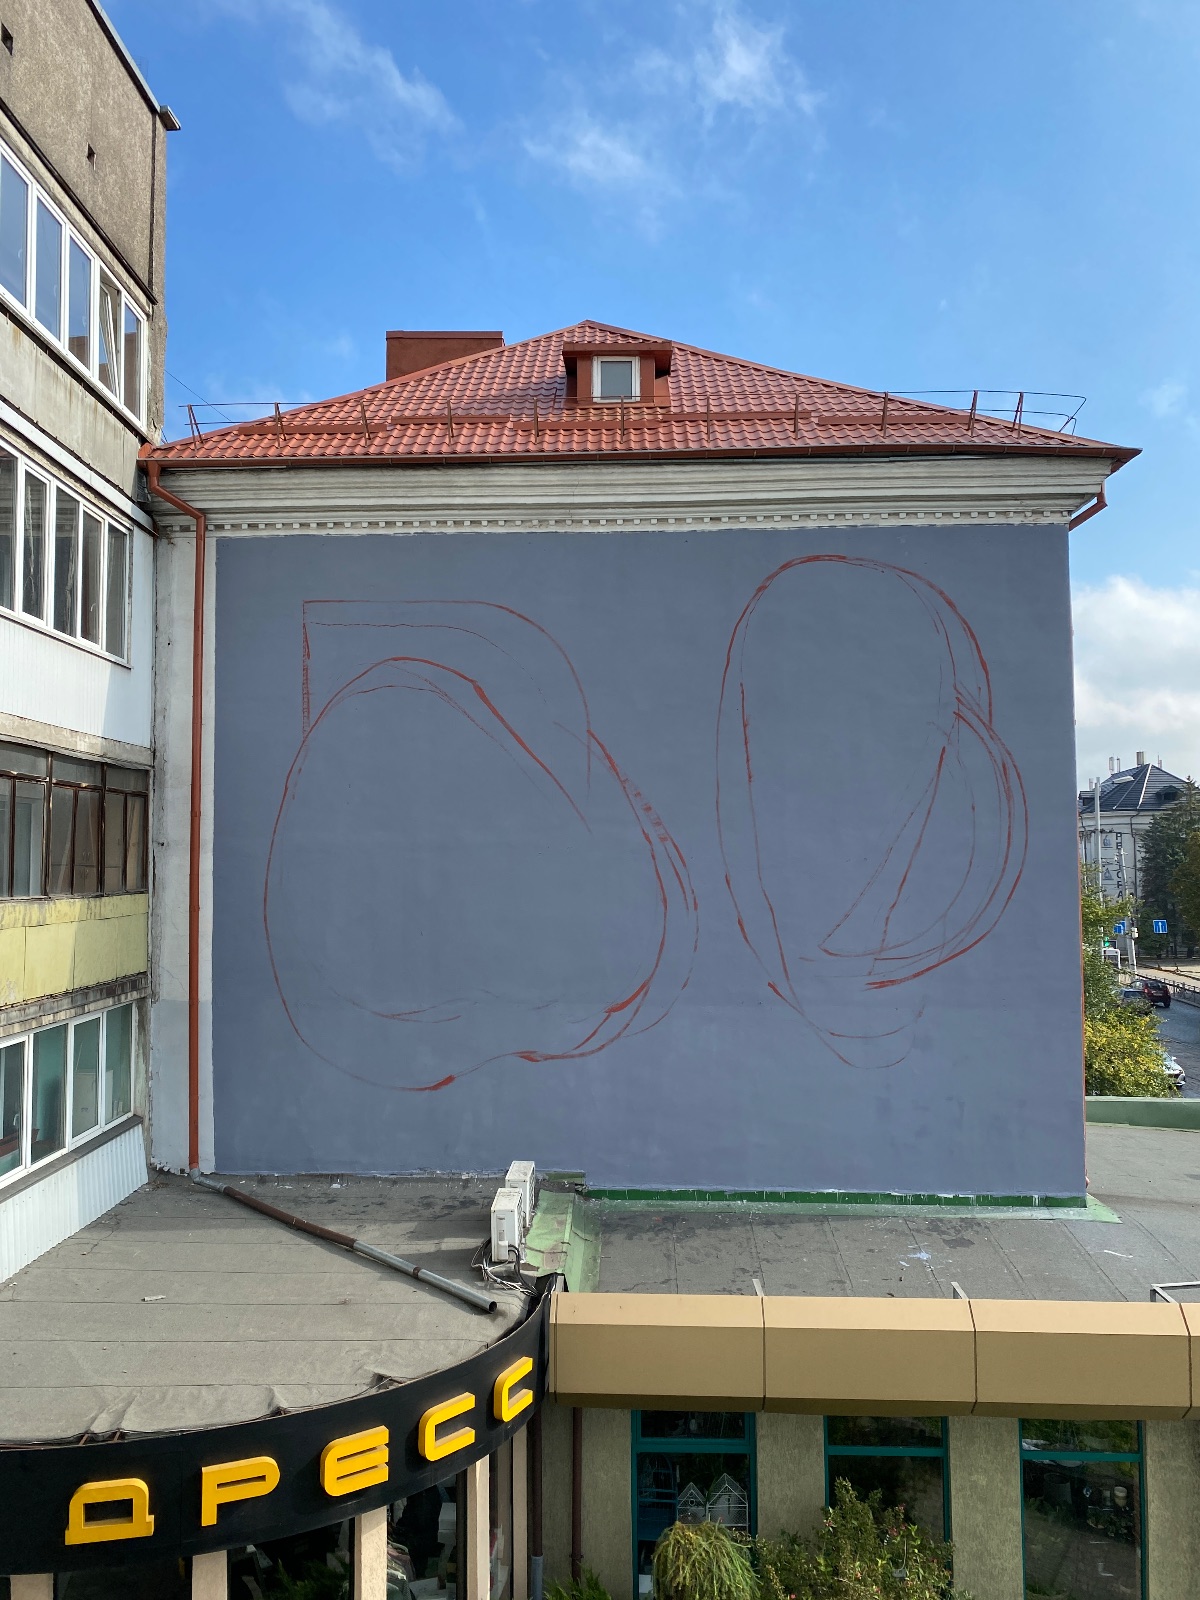
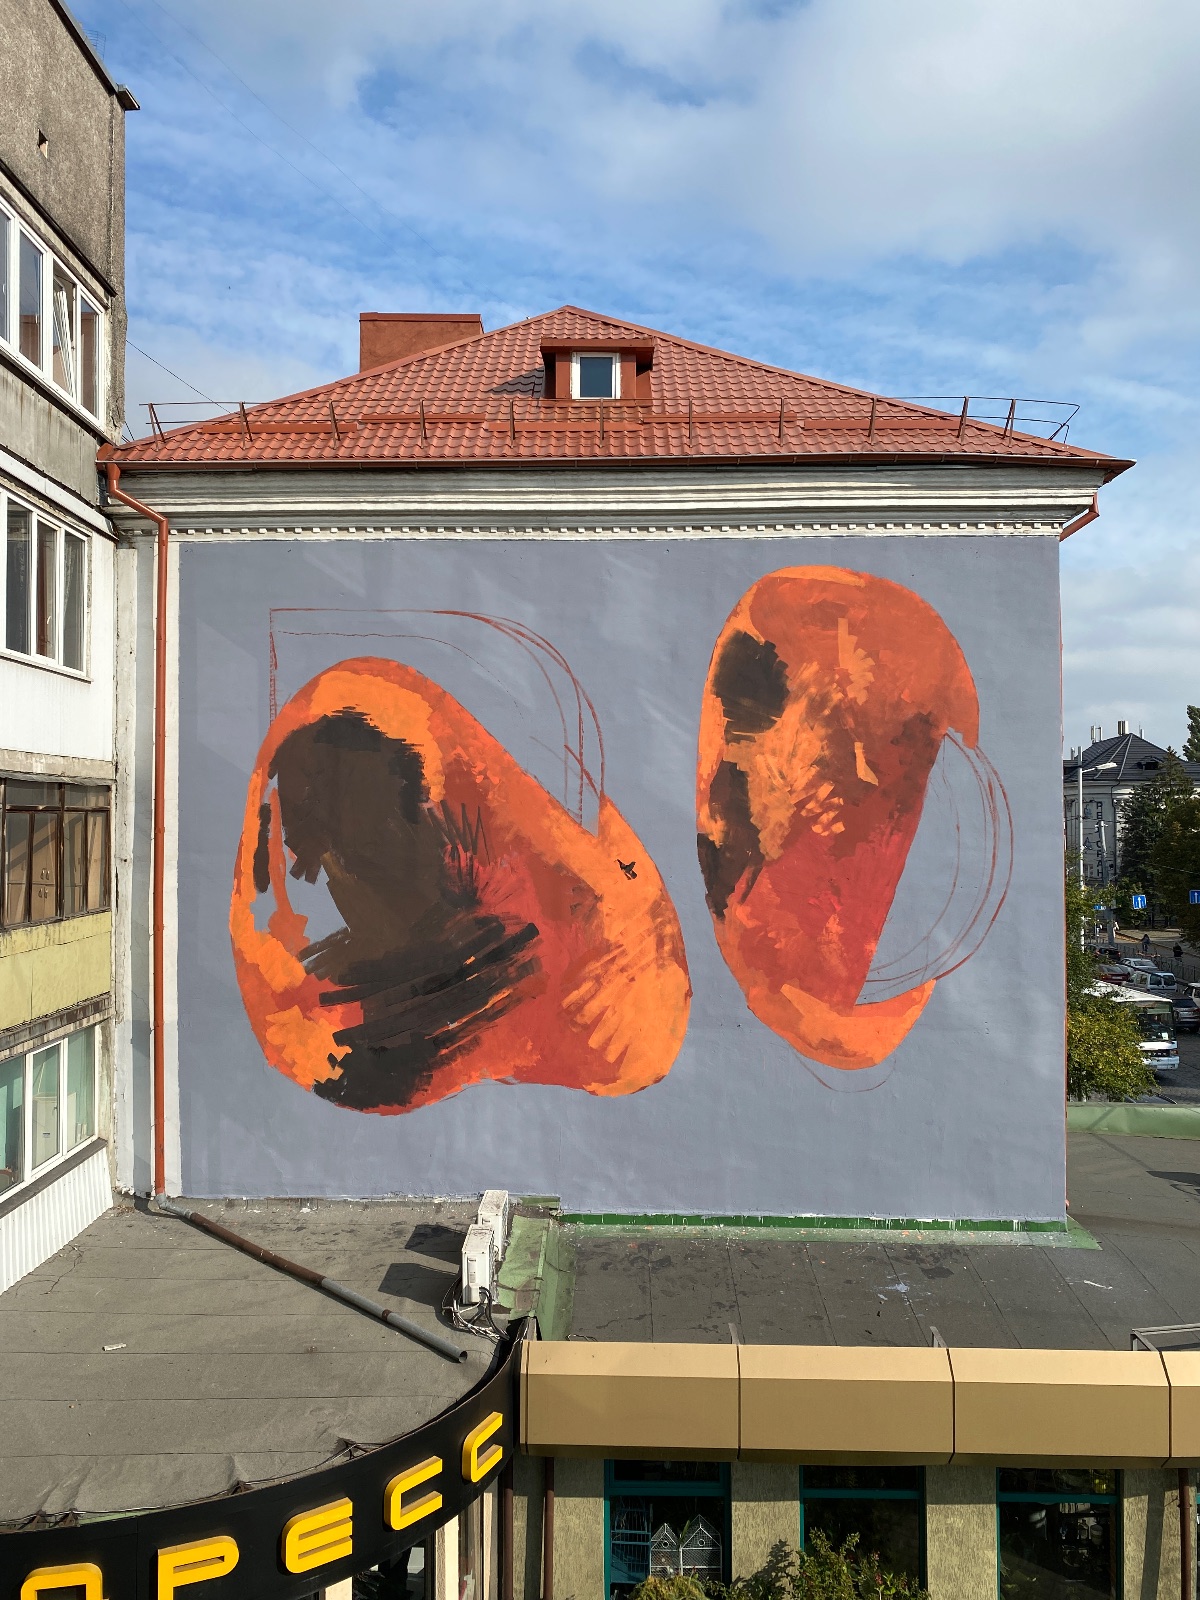
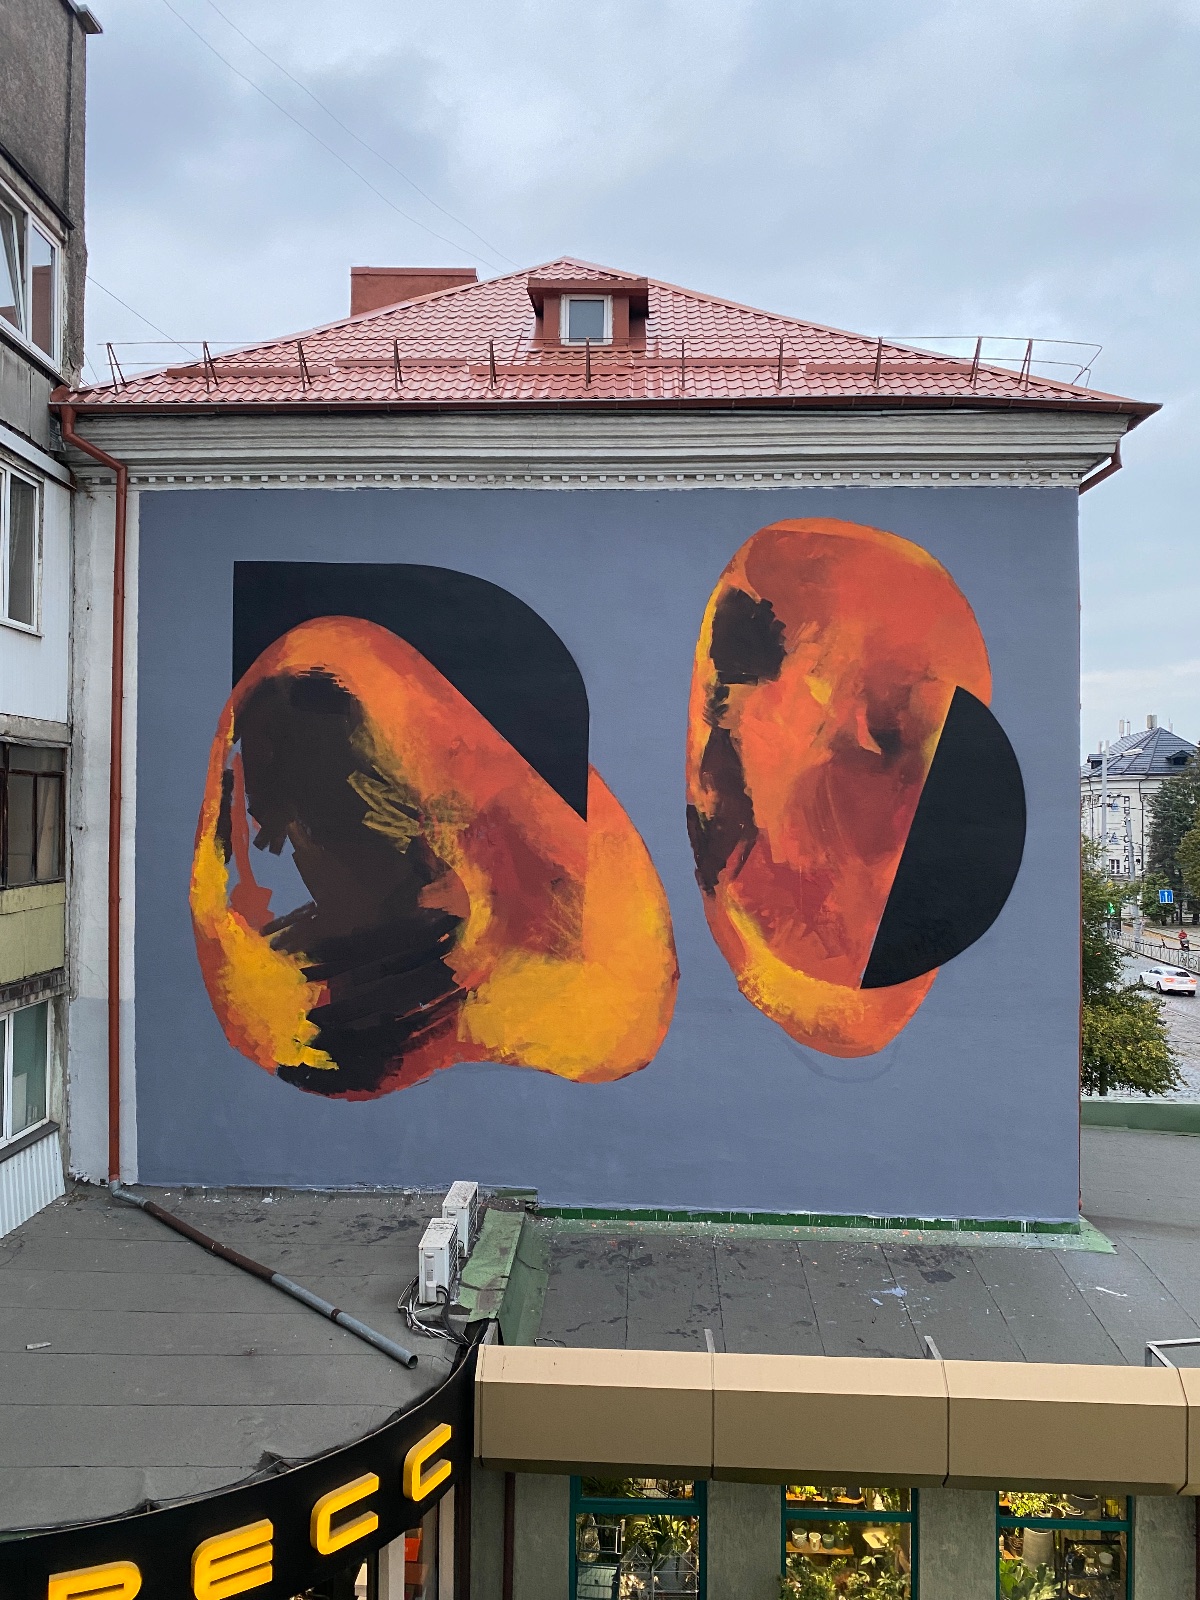
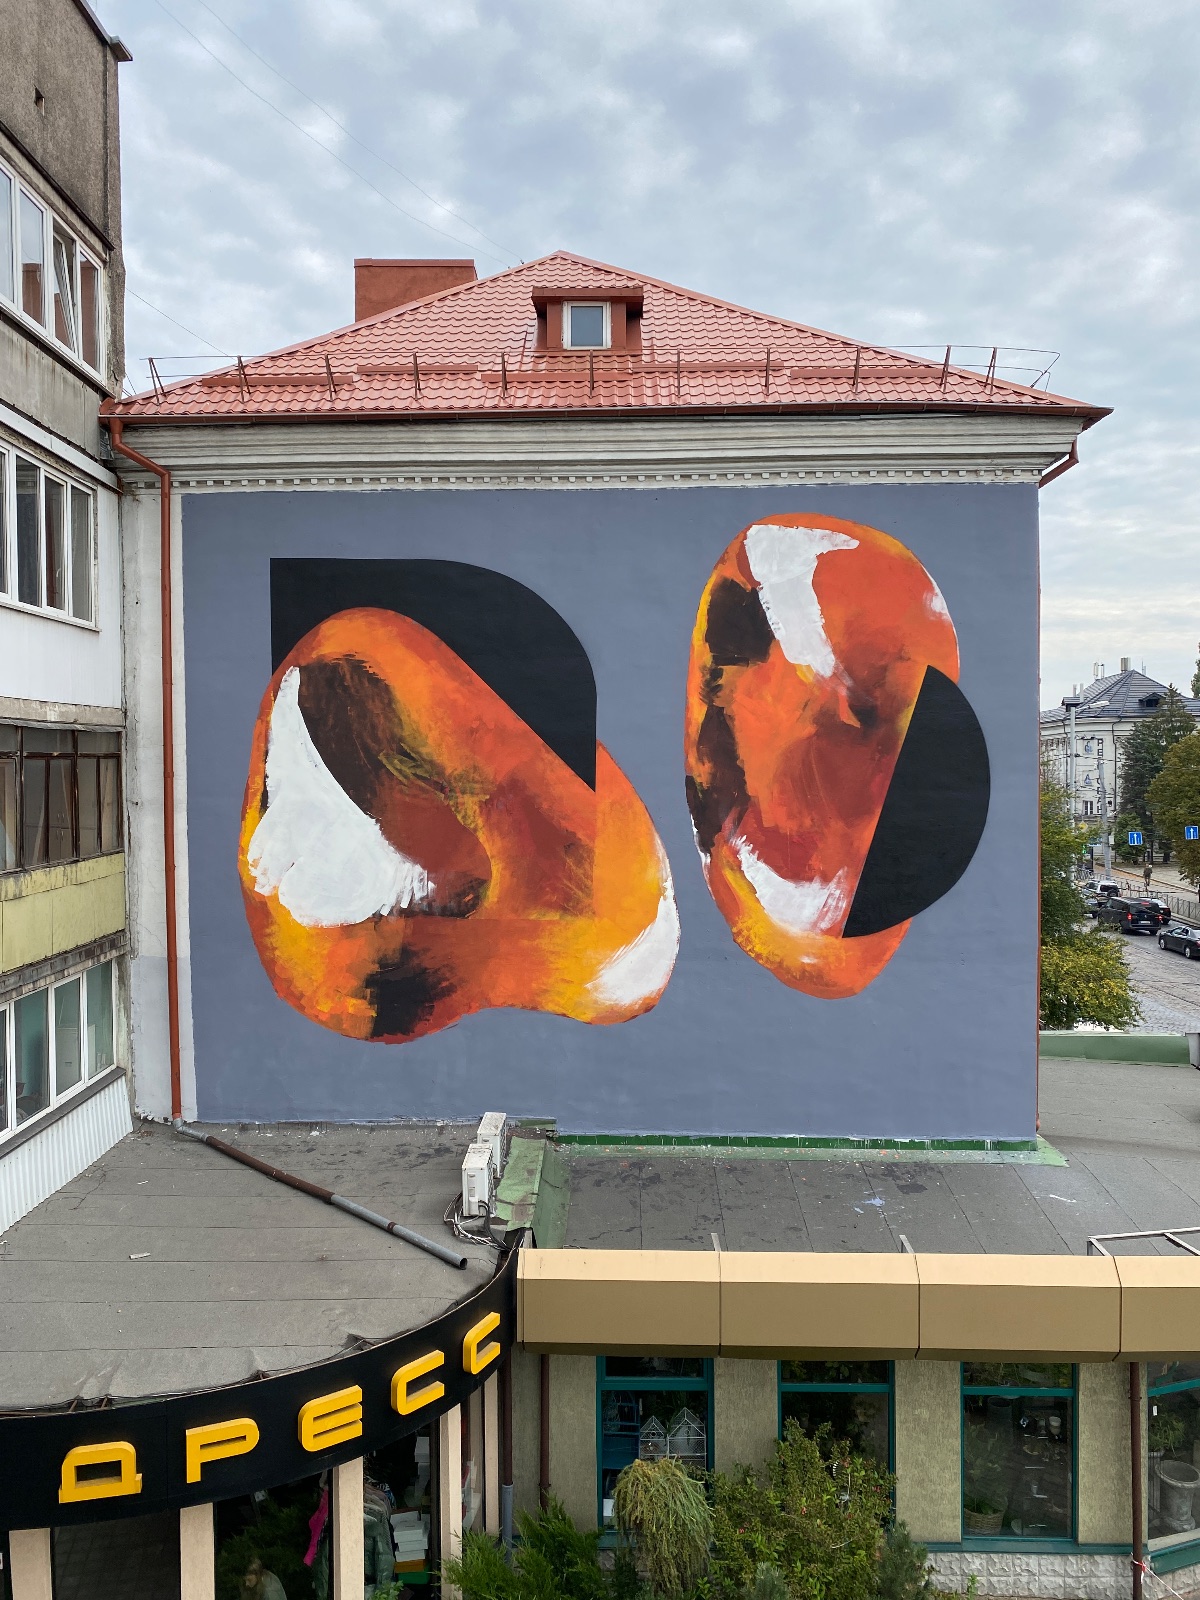
Mural with base colours blocked in before details: by Andrey Adno
Step 6 – Details, lines and corrections
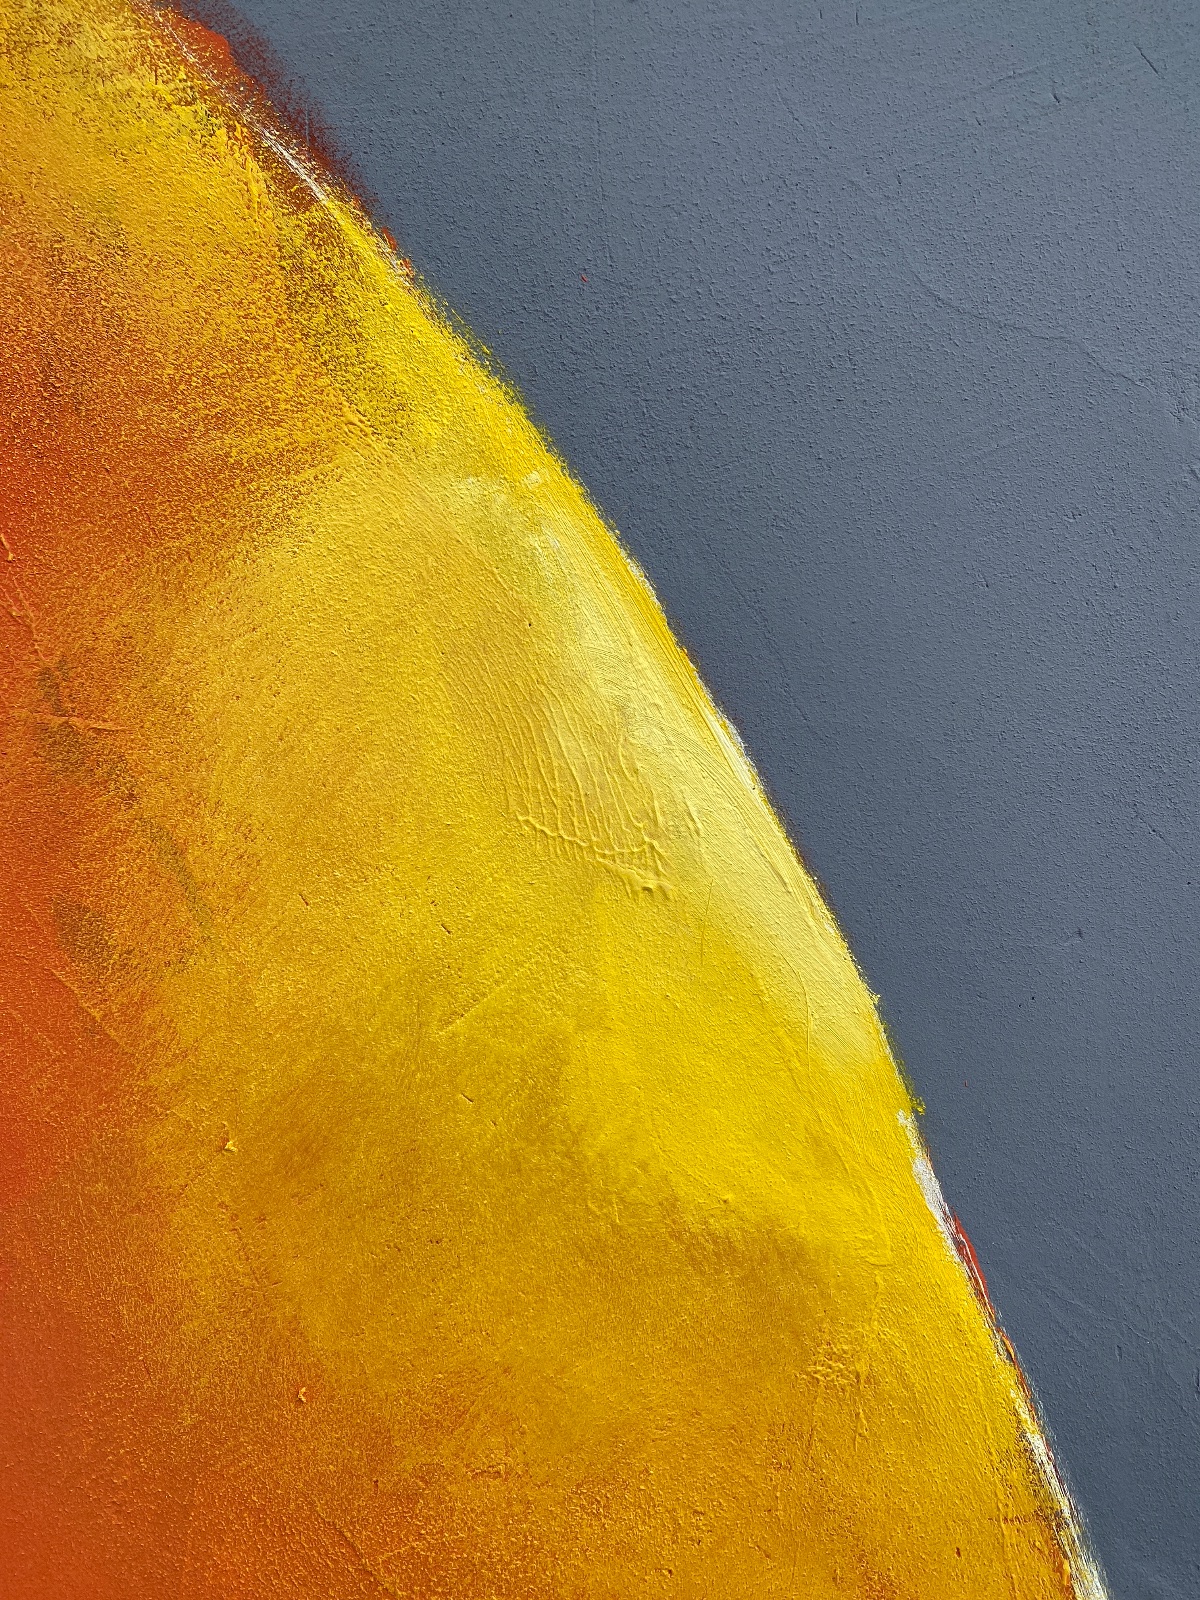
Now the smaller brushes. Work from large shapes to small, from soft to sharp. Outlines and highlights go last.
For crisp straight edges, use low-tack tape so it doesn't lift the paint underneath. Step back often – literally. Walk across the street or down the corridor every half hour. Details that look right from 30 cm are often wrong from 10 m.
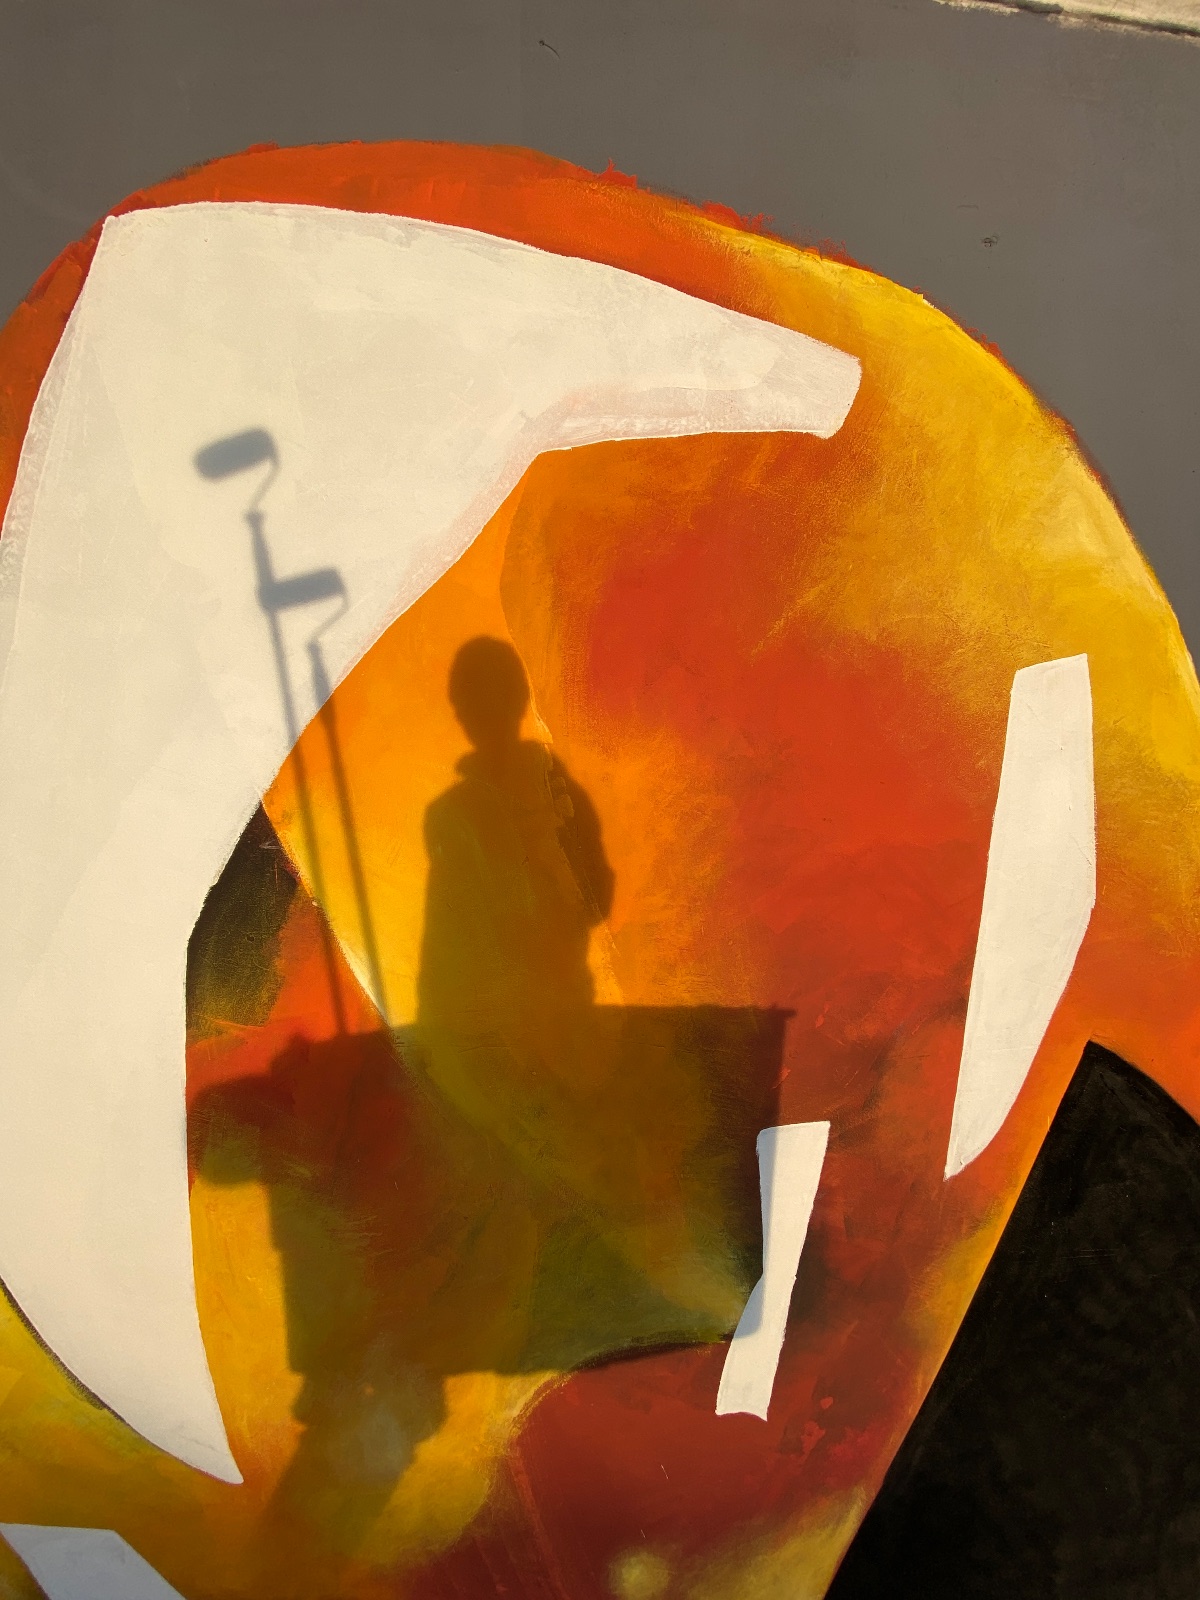
Step 7 – Seal and protect (outdoor murals)
An outdoor mural without a protective coat fades and gets hard to clean. Once it's fully cured, apply a clear UV-resistant varnish or an anti-graffiti coating made for murals. Check that it's compatible with your paint. Indoors, sealing is optional – useful in kitchens, hallways and kids' rooms.
How long does a mural take?
Honest answer: it depends on size, detail and method, but the split between stages is predictable. Prep and priming take a fixed amount of time per square metre. Painting depends on your style. Transfer is the stage that changes most between methods – on a large wall a grid can eat a whole day, while a VR headset brings it down to hours or less.
If you're quoting a job, estimate each stage separately. That's also how you explain the price to a client.
For example, this mural by Andrey Adno took around two days.
FAQ
Do I need to be good at drawing to paint a mural? No. You need a good sketch and a reliable way to transfer it. A grid, projector or headset handles the proportions; your job is colour and finish.
Can I paint a mural with acrylic paint? Yes. Acrylic is the standard for murals. Use interior acrylic or latex indoors, and exterior-grade acrylic masonry paint outdoors.
Do I need a permit to paint a mural outside? Often, yes. Rules depend on the city and the building – many require the owner's written consent, and some require a permit for anything visible from the street. Check with the local municipality before you start.
What's the easiest way to transfer a design to a wall? For a small indoor wall, a projector at night. For a large or outdoor wall, a grid if you have time, an AR/VR headset if you don't.
Planning a large wall? Sketchar anchors your sketch to the wall at full scale on Meta Quest and Pico – trace in daylight, no grid, no projector. See how it works ·
▋