How to make your own brush: Sketchar Brush Editor settings explained (and the Procreate Brush Studio)
What every brush setting does, how to turn the built-in Sketchar brushes into your own variations, export them and share them with friends, and how the same works in Procreate on iPad.
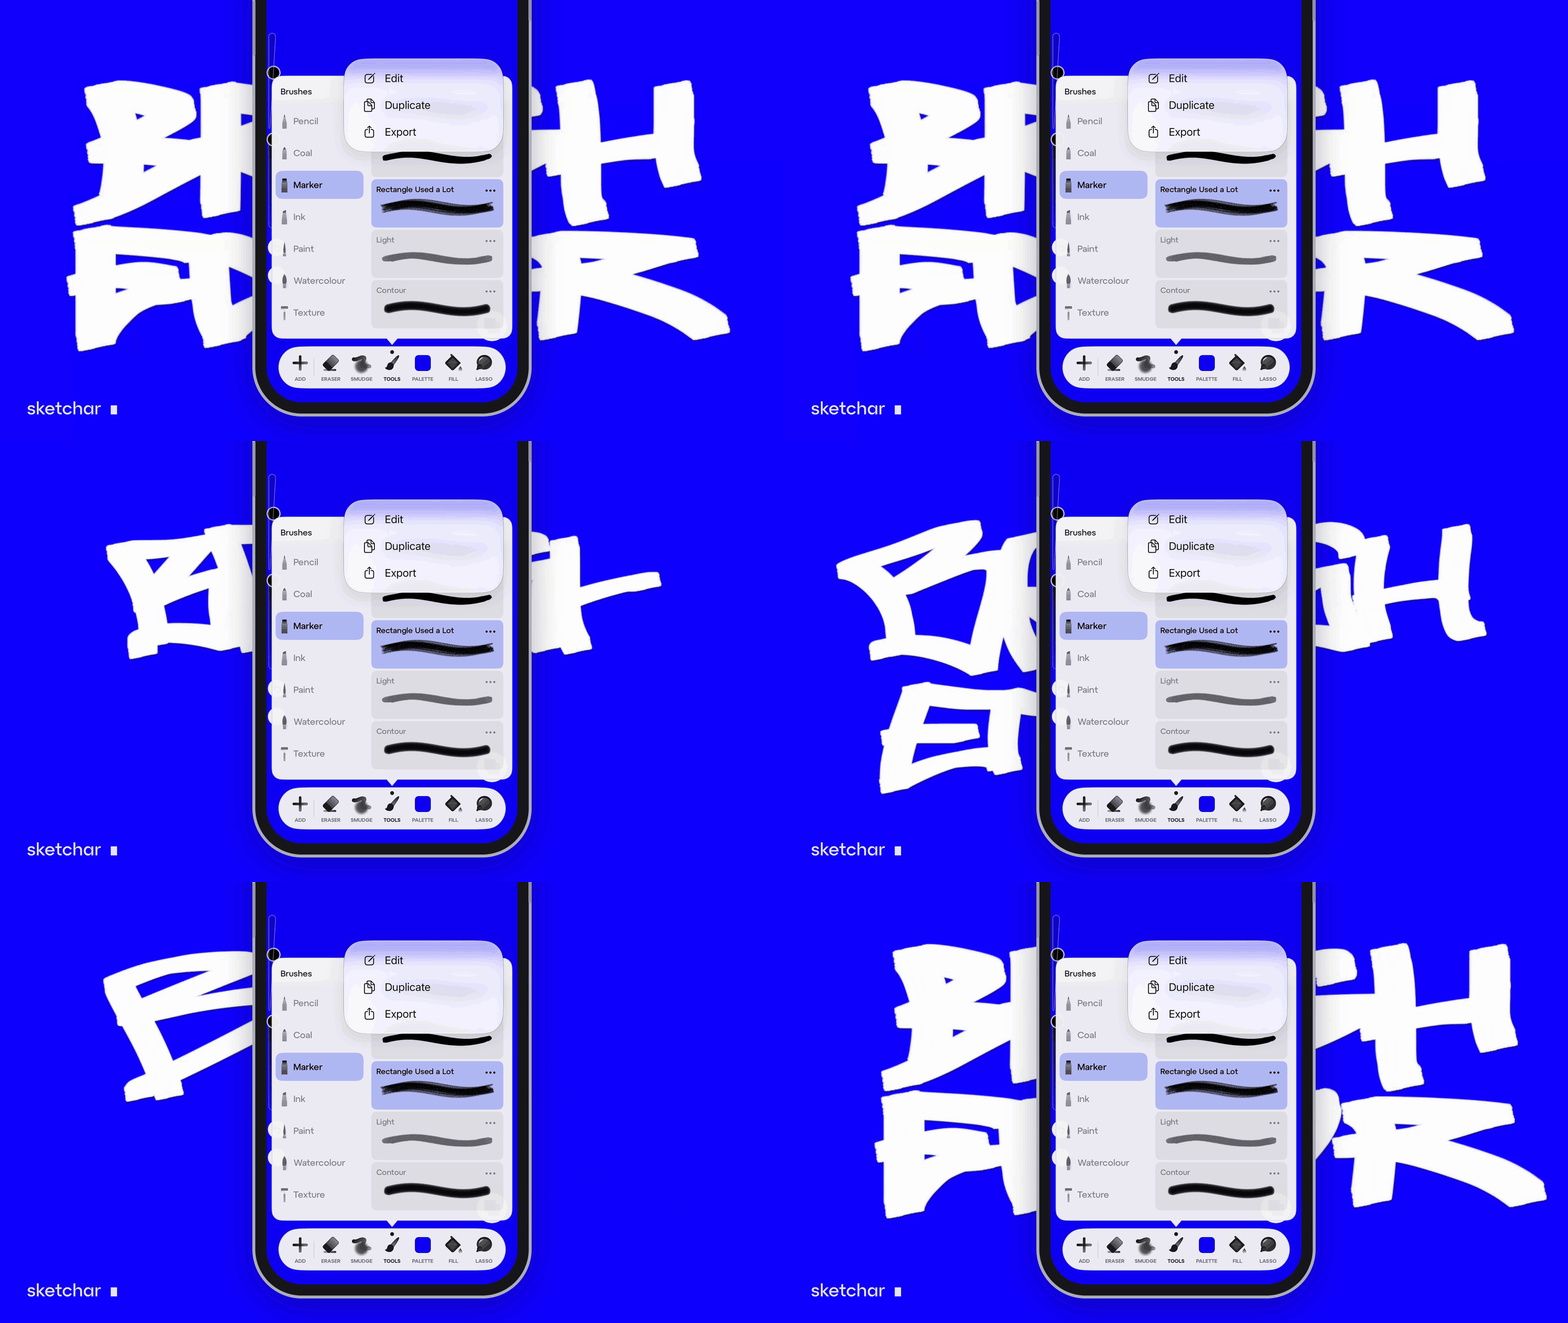
Short answer: a digital brush is a small picture (the shape) stamped along your stroke many times, with a texture (the grain) inside it, and rules (the dynamics) that change size and opacity with pressure, speed and tilt. To make one in Sketchar 11, open any brush's menu, tap Edit and change it on a live test canvas. Every built-in brush can be your starting point: copy it, change it any way you like, make as many variations as you want, then export them and share them with friends. In Procreate, open the Brush Library, tap + and tune the brush in Brush Studio. The easiest start in both apps: duplicate a brush close to what you want and change one group of settings at a time.
How a digital brush works
Whatever the app, a brush is built from the same parts:
Shape. The stamp: a round dot, a flat chisel, a splatter. The app repeats it along the stroke.
Stroke path. How close together the stamps are (spacing), how much they wobble (jitter), and how much the line is smoothed.
Grain. The texture inside the stroke: paper tooth for pencil, canvas weave for paint.
Dynamics. How speed and pressure change size and opacity.
Stylus. What pressure and tilt do on an Apple Pencil or another stylus.
Properties. The minimum and maximum size and opacity the slider allows.
Once you see a brush as these parts, any brush editor becomes readable.
A brush is not a tool you find. It is a habit of your hand that you teach to the app.
How to make a brush in Sketchar
Sketchar 11 brought a full brush editor to iPhone, iPad and Android. Brushes sit in seven families: Pencil, Coal, Marker, Ink, Paint, Watercolour and Texture.
Step 1 – Pick a starting brush
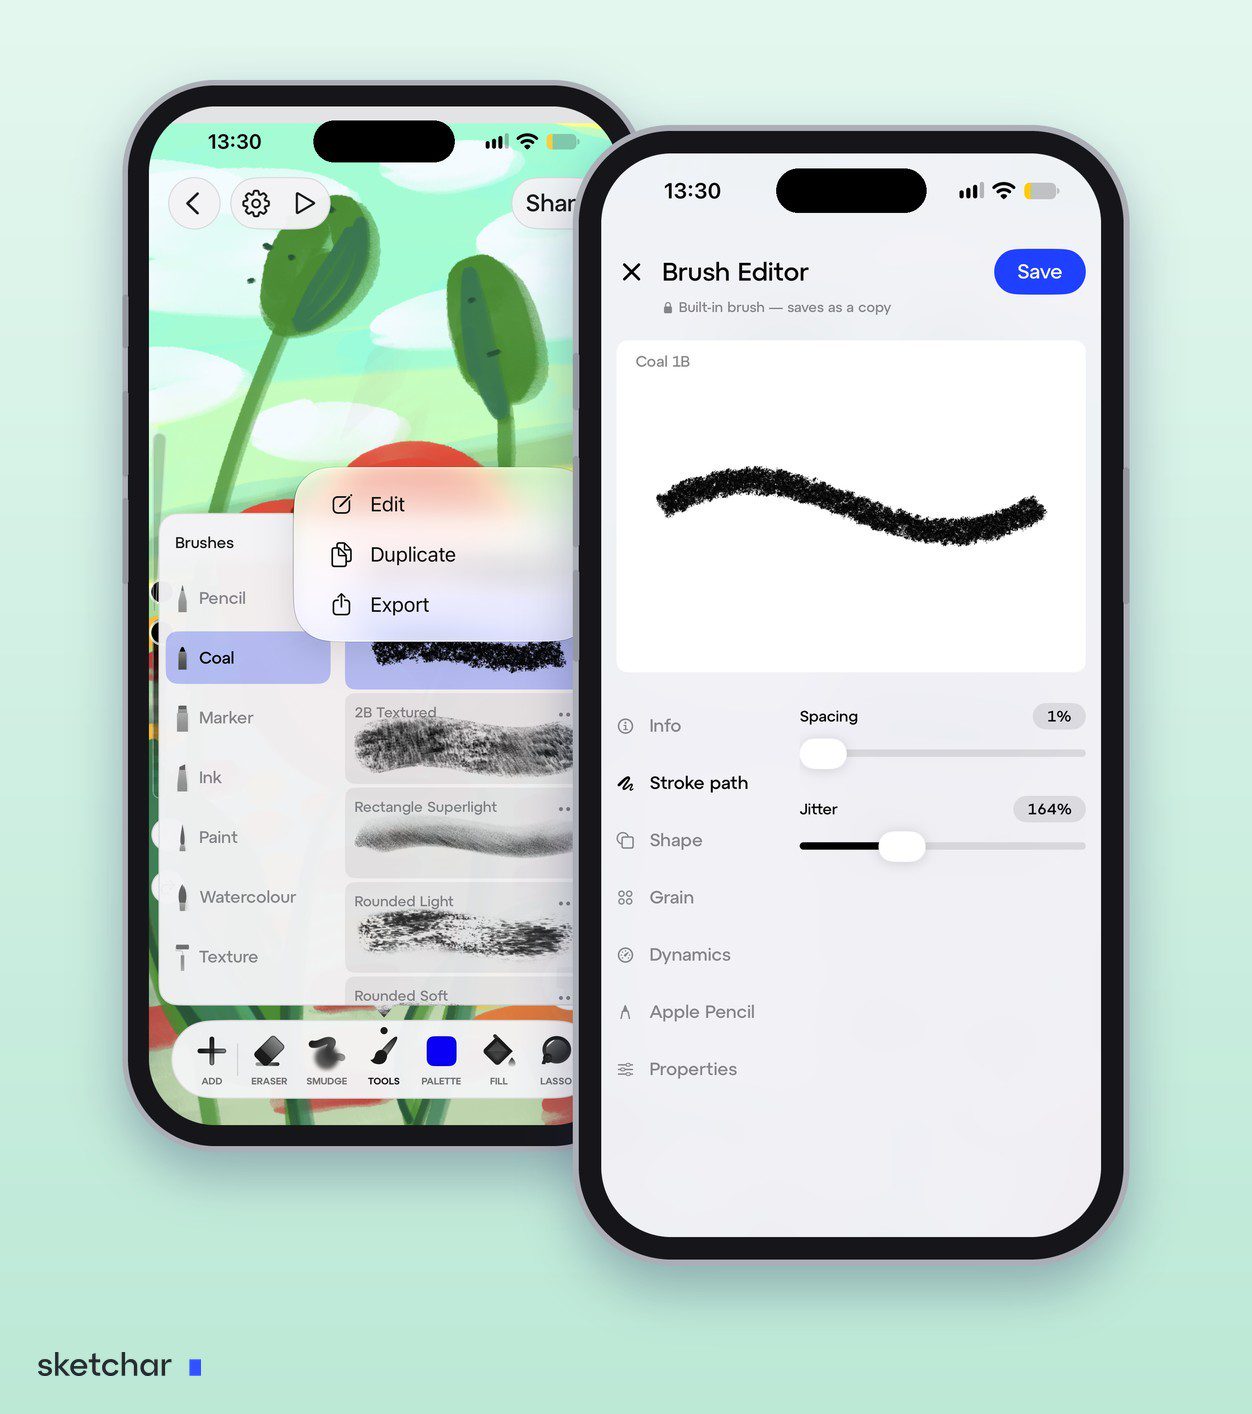
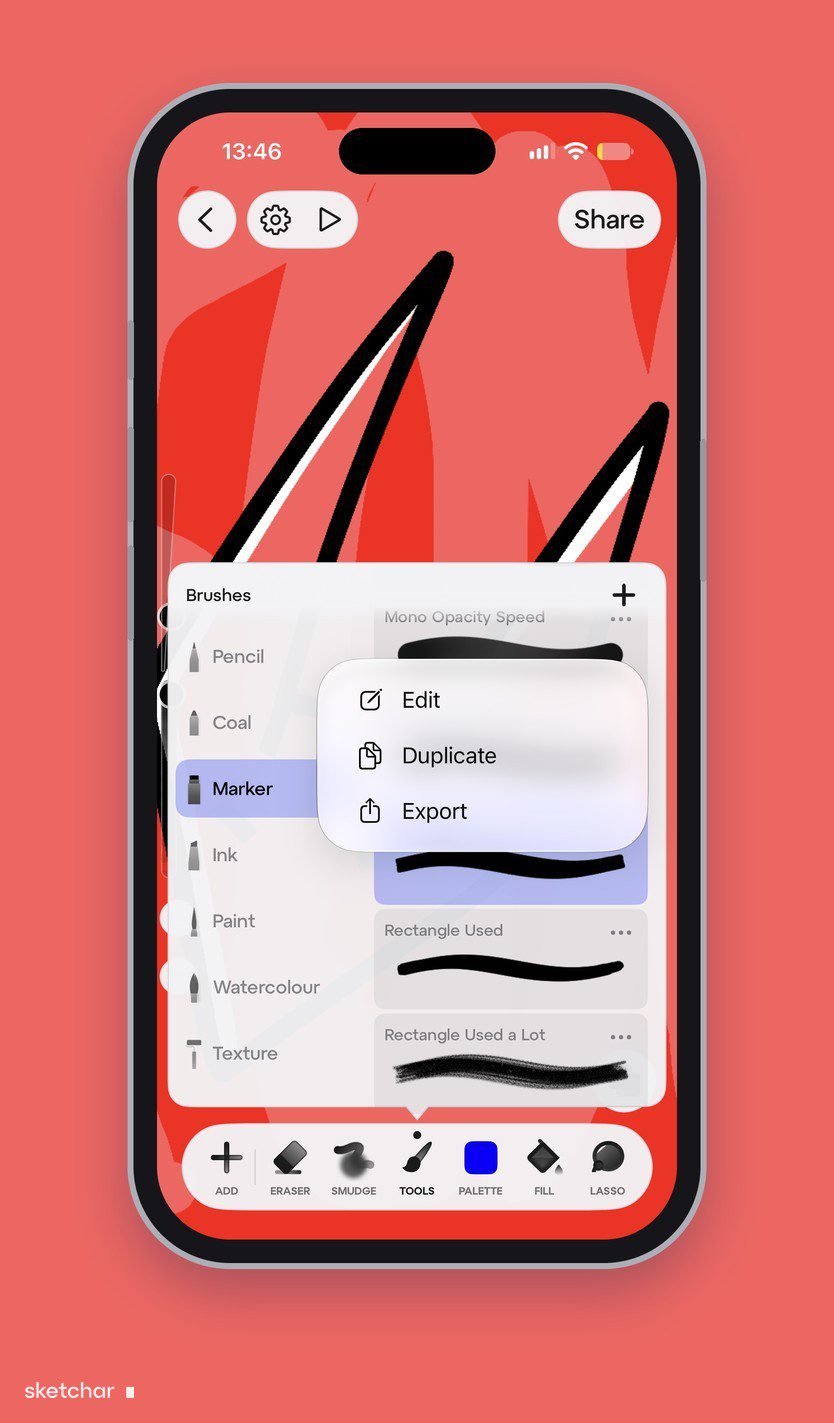
In Canvas, tap Tools in the bottom bar to open the Brushes panel, and choose the brush closest to what you want. Every brush has a menu with Edit, Duplicate and Export. To start from scratch instead, tap + at the top of the panel and choose New Brush.
Step 2 – Open the editor
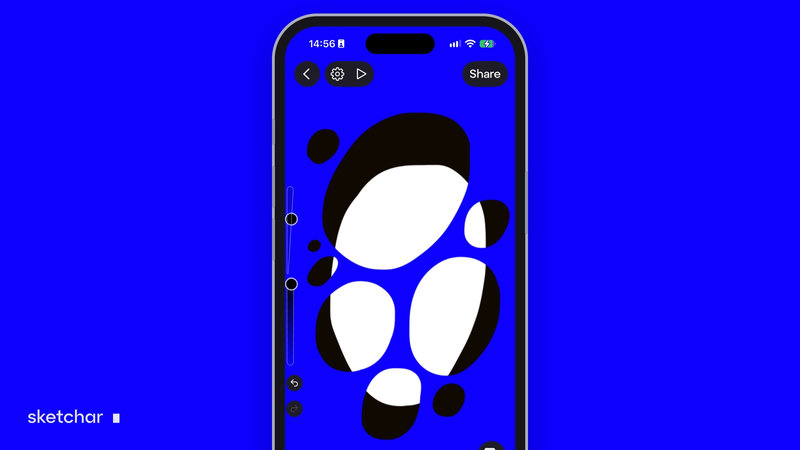
Tap Edit. The Brush Editor opens with a live test canvas, so you see the stroke change as you move a slider.
Step 3 – Change one group at a time
Settings come in seven groups: Info, Stroke path, Shape, Grain, Dynamics, Apple Pencil and Properties. Change one group, draw a test stroke, then move on. What each group does is explained below.
Step 4 – Save it as your own brush
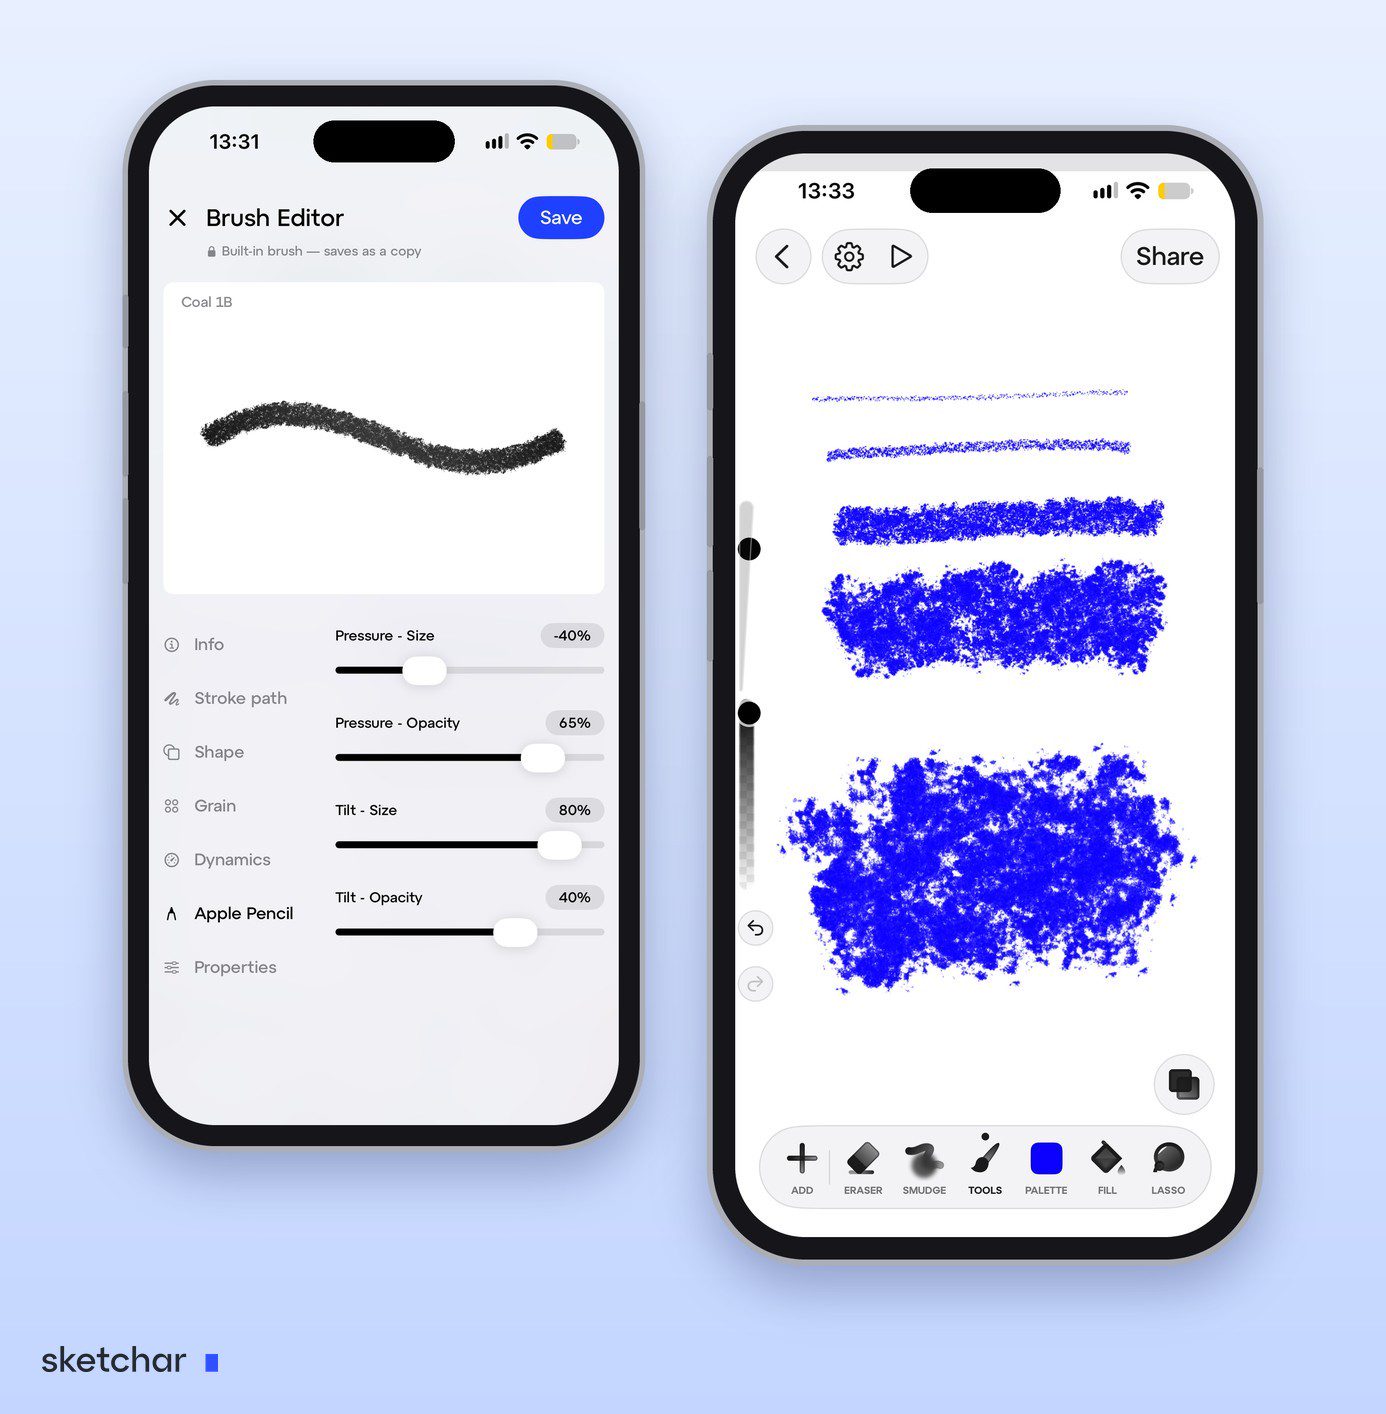
Built-in brushes save as a copy, so the original is always there to go back to. The editor is open to everyone; saving your own brush needs PRO. To keep your brushes together, tap + in the Brushes panel and choose New Set.
Step 5 – Export or share it
Use Export to keep a brush file or give it to a friend. To add brushes made by other artists, including Procreate .brush files, tap + in the Brushes panel and choose Import from Files.
Remix the built-in brushes and share your own
You do not have to build a brush from nothing. The standard Sketchar brushes are there to be taken apart.
Copy any standard brush. Every brush in the seven families can be a base. Tap Duplicate in its menu to get a copy, or tap Edit straight away: a built-in brush saves as a copy, so the original stays as it was.
Change it any way you like. A new shape, your own grain, a different response to pressure: nothing in a copy is locked.
Make as many variations as you want. A softer charcoal, a rougher one, a wide one for backgrounds. Keep them side by side in your own set and pick the one the drawing needs.
Export your brushes. Export in the brush menu turns a brush into a file you can keep as a backup or move to another device.
Share them with friends. Send the exported file to a friend. They tap + in the Brushes panel, choose Import from Files, and your brush appears in their library.
Sketchar Brush Editor settings explained
The groups are listed on the left of the editor. Tap one and its settings appear on the right; the stroke at the top redraws as you move them.
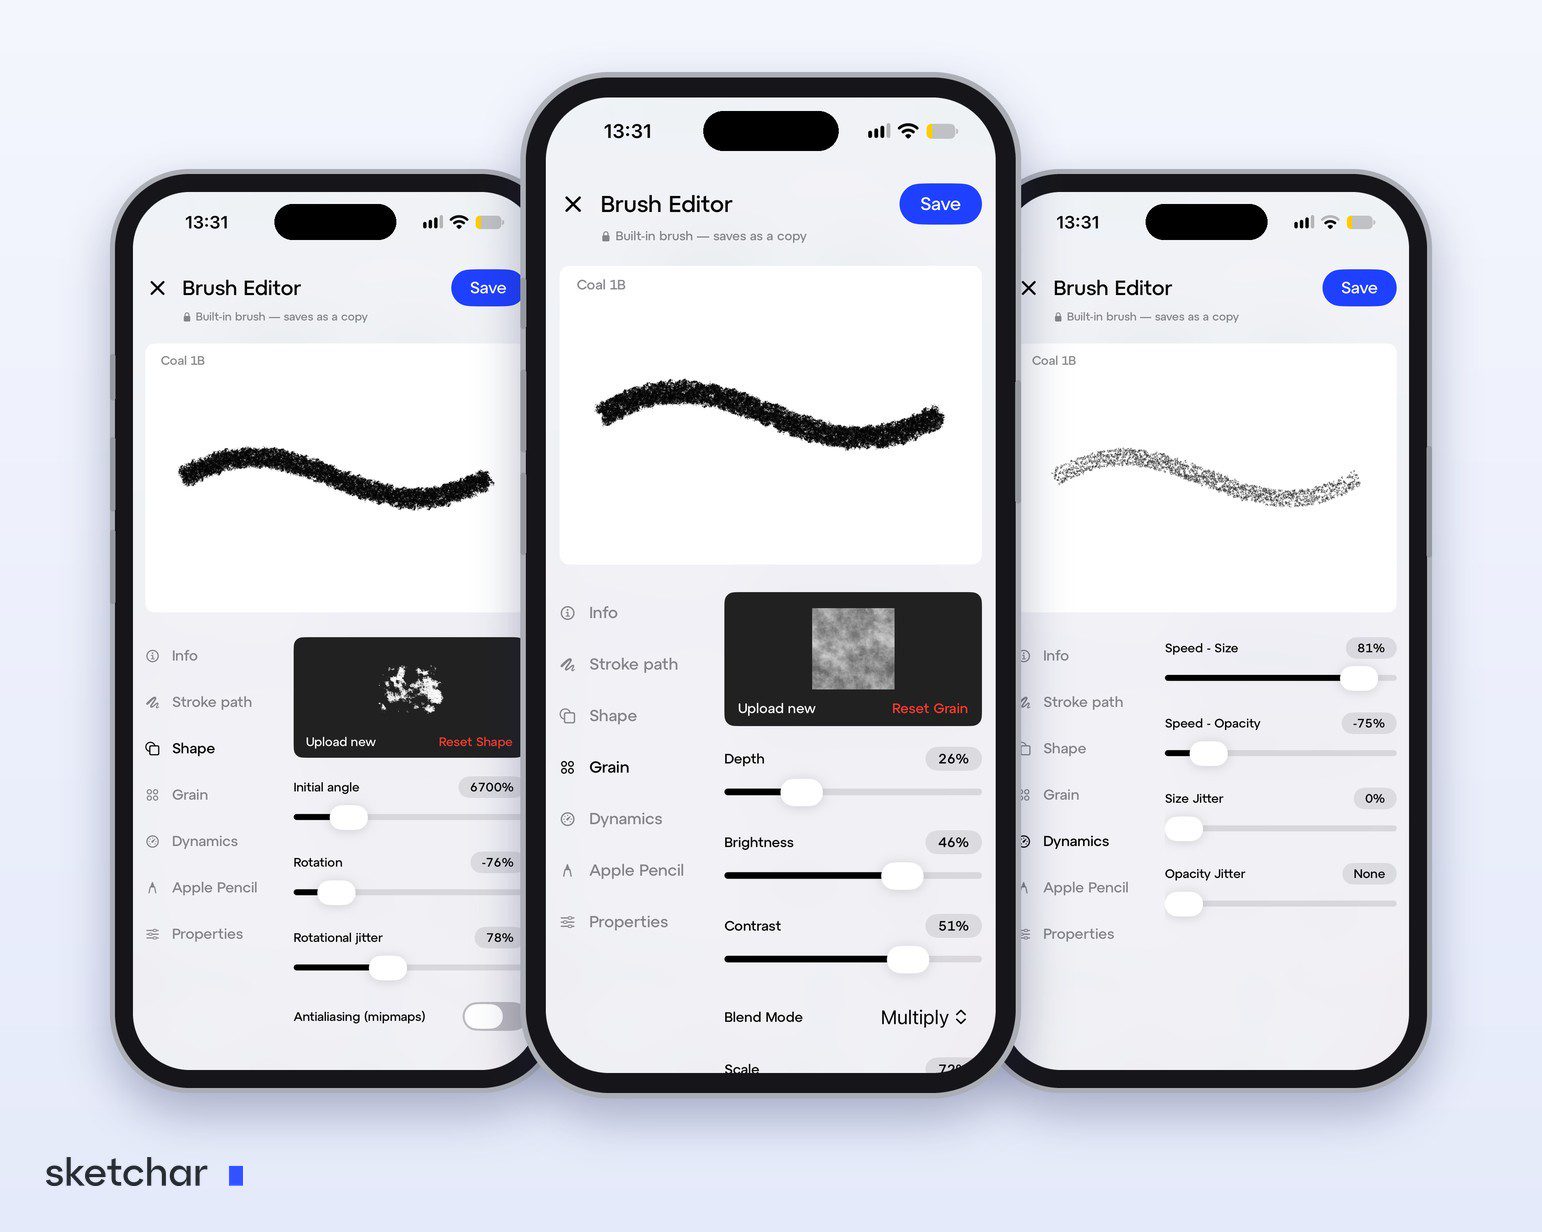
Info. What the brush is: its name and the family it sits in.
Stroke path. How the stamps are laid along your line. Spacing is the distance between stamps: low gives a solid line, high gives a dotted one. Jitter throws the stamps off the line: at zero the edge is clean, turned up it gets rough, like charcoal.
Shape. The stamp itself. Upload new puts in your own picture and Reset Shape brings the original back. Initial angle turns the stamp, Rotation sets how it turns as your stroke changes direction, and Rotational jitter turns each stamp at random. Antialiasing softens the edges of the stamp.
Grain. The texture inside the stroke, with the same Upload new and Reset Grain. Depth is how strongly the texture shows through, Brightness and Contrast change the texture itself, Blend Mode sets how it mixes with the colour, and Scale makes it finer or coarser.
Dynamics. How the stroke reacts while you draw. Speed – Size ties the width of the line to how fast you move, and Speed – Opacity does the same for how dense it is. Size Jitter and Opacity Jitter make each stamp a little different from the last, so the line looks hand-made instead of printed.
Apple Pencil. What the stylus does. Pressure – Size and Pressure – Opacity set how much pressing harder changes the width and the density of the line; Tilt – Size and Tilt – Opacity do the same for tilting the pen.
Properties. The limits of the brush: how small and how large, how faint and how solid it can get.
The speed, pressure and tilt sliders go below zero as well, which turns the effect the other way round.
Not sure where to start? Shape and Grain decide what a brush looks like. Stroke path, Dynamics and Apple Pencil decide how it behaves under your hand.
Procreate Brush Studio settings
Procreate's Brush Studio splits a brush into sections such as Stroke Path, Stabilization, Taper, Shape, Grain, Rendering, Wet Mix, Color Dynamics, Dynamics, Apple Pencil, Properties and About this brush. A drawing pad on the right shows every change as you make it.
To make a new brush in Procreate:
Open the Brush Library and tap + at the top.
In Shape and Grain, pick a source from the library or import your own image.
Tune Stroke Path, Dynamics and Apple Pencil while drawing on the pad.
Tap Done. The brush lands in the selected set.
To change an existing brush without losing the original, swipe left on it and tap Duplicate first.
Three brush recipes to try
Soft pencil. Start from a Pencil brush. In Grain, raise Depth so the paper shows through. In Apple Pencil, give Pressure – Opacity more than Pressure – Size, so pressing makes the line darker rather than wider. Add a little Jitter in Stroke path so the line is not too perfect.
Clean ink. Start from an Ink brush. Keep Spacing and Jitter low for a solid edge, raise Pressure – Size so the line swells as you press, and leave Size Jitter and Opacity Jitter at zero.
Flat marker. Start from a Marker brush. Choose a flat shape, set its Initial angle, and raise Tilt – Size so a tilted pen gives a wider line.
Save each one under a clear name, such as Ink – comic lines, so you can find it again.
FAQ
How do I make my own brush in Sketchar? In Canvas, tap Tools, open a brush's menu and tap Edit, or tap + and choose New Brush. Change the settings on the live test canvas and save the brush.
What do the Sketchar Brush Editor settings do? Stroke path sets the spacing and jitter of the stamps, Shape the stamp and its rotation, Grain the texture inside the stroke, Dynamics how speed changes size and opacity, Apple Pencil what pressure and tilt do, Properties the limits of size and opacity.
Can I use the standard Sketchar brushes as a base? Yes. Duplicate any built-in brush, or edit it and save: it saves as a copy. Change the copy any way you like and make as many variations as you want.
Can I share my Sketchar brushes with friends? Yes. Tap Export in the brush menu and send the file. Your friend adds it with + and Import from Files in the Brushes panel.
Can I make custom brushes on Android? Yes. Sketchar 11 has a brush editor on Android as well as on iPhone and iPad: tap Tools, then + and New Brush, or Edit on any brush.
Is the Sketchar brush editor free? The editor is open to everyone. Saving your own brush needs PRO.
Will editing a built-in brush overwrite it? No. In Sketchar, built-in brushes save as a copy. In Procreate, duplicate the brush first.
Can I use Procreate brushes in Sketchar? Yes. In the Brushes panel, tap + and choose Import from Files to add a Procreate .brush file.
How do I make my own brush in Procreate? Open the Brush Library, tap +, set the shape and grain, tune the dynamics in Brush Studio and tap Done.
What do Procreate brush settings do? Shape sets the stamp, Grain the texture inside the stroke, Stroke Path the spacing and smoothing, Dynamics and Apple Pencil how pressure, speed and tilt change the stroke, Properties the size and opacity limits.
Make the brush your hand already knows. The Sketchar brush editor on iOS and Android. Open Canvas
▋