Grid method drawing: how to scale a drawing with a grid, and when AR tracing is faster
How the grid method works on paper and canvas, the maths for scaling a drawing up or down, the mistakes that ruin it – and when tracing through a phone camera does the same job in minutes.
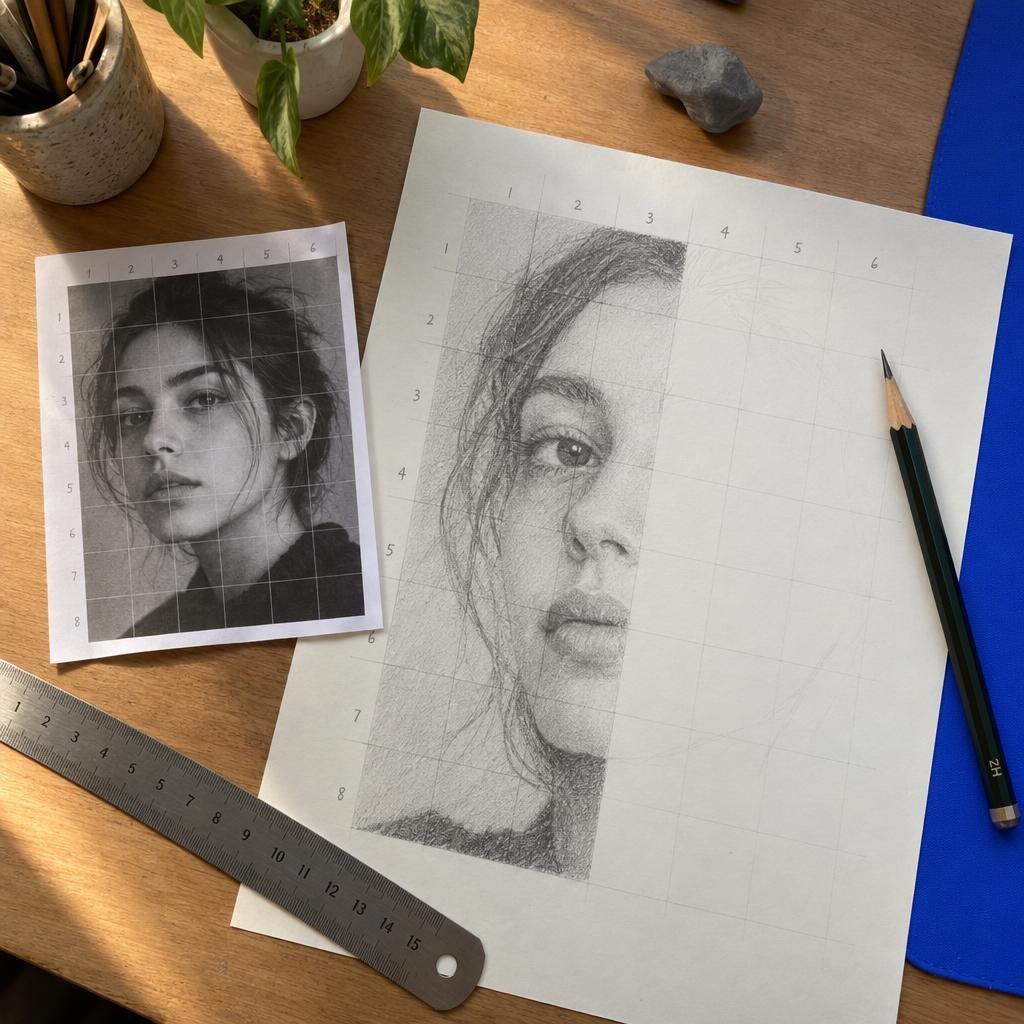
Short answer: the grid method puts the same grid over your reference and your paper, then copies the picture one square at a time. It scales a drawing to any size with nothing but a ruler, and it trains your eye to see shapes instead of things. It is slow: a 6 × 8 grid on a sheet is twenty minutes of setup before you draw a line. Tracing through a phone camera with AR does the same job on paper, canvas or fabric in minutes, and the question of which one teaches you more has a clear answer below.
What the grid method is
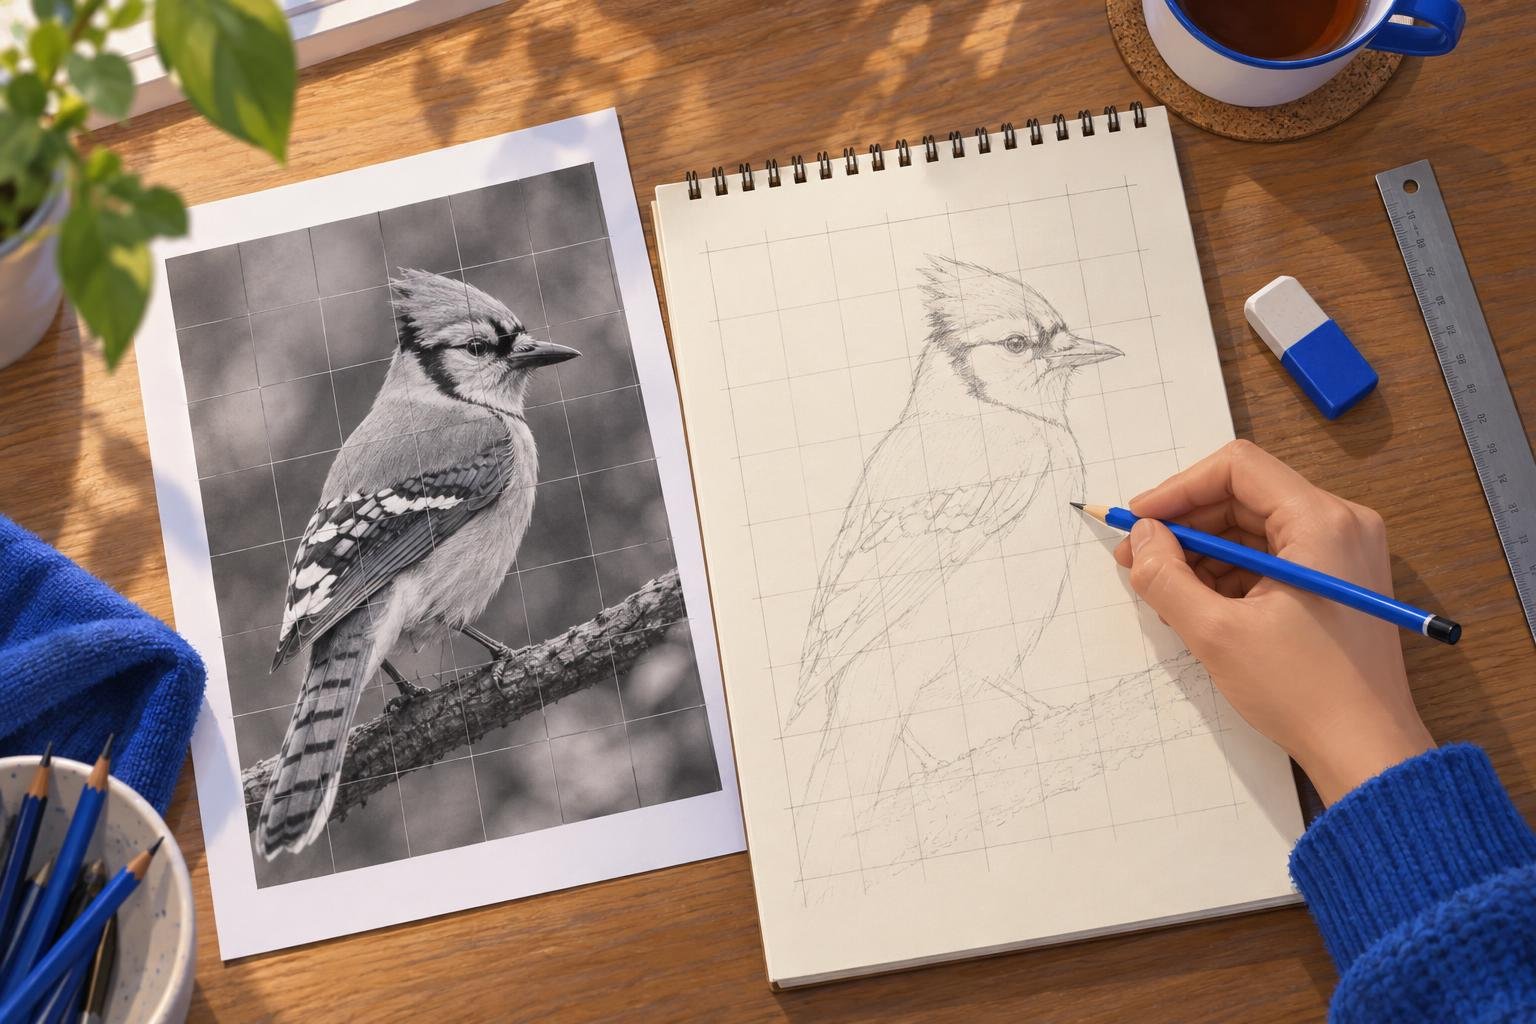
You draw a grid of equal squares over the reference image. You draw a grid with the same number of squares over your paper – bigger squares if you are scaling up, smaller if you are scaling down. Then you copy what you see in each reference square into the matching square on the paper. Because every square is small, you are never judging the whole picture, only where a line enters and leaves a box.
Artists have used it for at least five centuries: Dürer drew a gridded screen in 1525, and it was standard in academies long before photography.
We put it alongside the camera lucida and the modern phone in Is AR drawing cheating? What five centuries of tracing tools say.
Step 1 – Choose and crop the reference
Pick an image with clear edges and good contrast. Crop it to the proportions of the paper you will draw on, so the grids match without stretching.
Step 2 – Grid the reference
Print it and rule a grid with a pencil, or add a grid in any photo app. Use squares small enough that no single square holds a whole face or a whole hand. For an A4 reference, 2 cm squares are a good start. Number the columns and letter the rows.
Step 3 – Work out the scale
Decide the finished size, divide by the reference size, and multiply the square size by the result. The maths section below shows a worked example.
Step 4 – Grid the paper, lightly
Use a hard pencil (2H or harder) so the lines erase later. On canvas, use a light pencil or a water-soluble marker. Mark the same numbers and letters along the edges.
Step 5 – Copy square by square
Start from the top-left square. Look only at where lines cross the edges of the square and where they bend inside it. Mark those points first, then connect them. Move to the next square. Do not draw details yet – outlines only.
Step 6 – Check, then erase the grid
Step back and compare the whole drawing with the reference. Fix anything that looks off, then erase the grid lines before shading or painting.
The maths: scaling a drawing up or down
The scale factor is the finished size divided by the reference size, measured on the same side.
Reference: 20 × 30 cm with 2 cm squares – a 10 × 15 grid.
Finished drawing on a canvas: 60 × 90 cm. Scale factor: 60 ÷ 20 = 3.
Canvas squares: 2 cm × 3 = 6 cm. Still a 10 × 15 grid.
Scaling down works the same way: a 60 × 90 cm painting onto a 20 × 30 cm sheet is a factor of 1/3, so 6 cm squares become 2 cm squares.
If the proportions do not match – a 4:3 reference onto a 2:1 sheet – crop the reference first. Never stretch the grid into rectangles; it distorts everything inside.
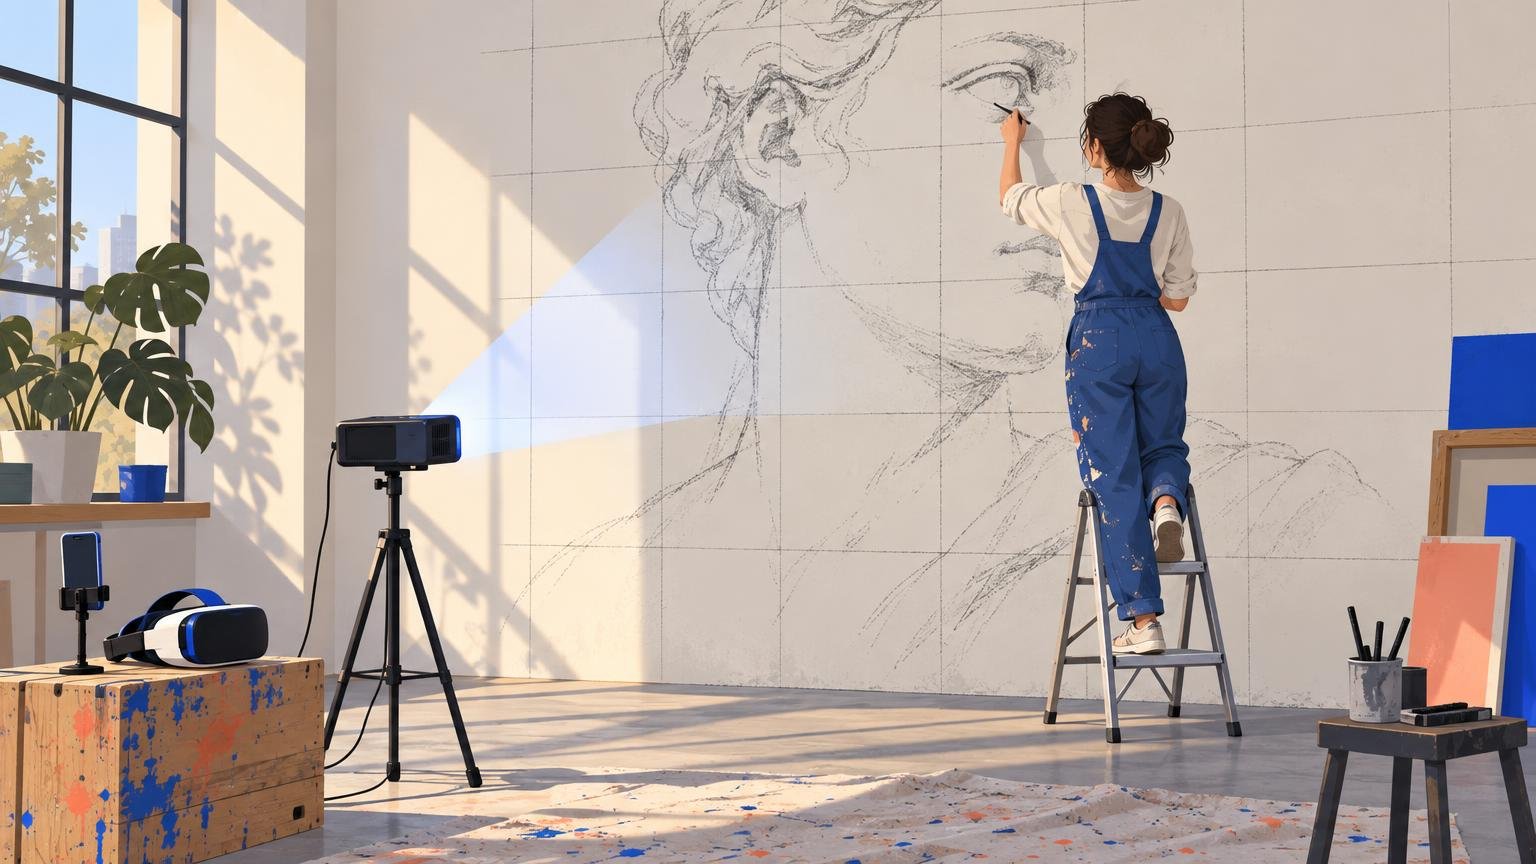
For a wall, the grid is one of four methods and usually the slowest; the comparison with the doodle grid, a projector and a VR headset is in How to scale a mural. This article stays on the desk.
Mistakes that ruin a grid drawing
Uneven squares. A 1 mm error in each square adds up to a centimetre across the sheet. Measure every line from the edge, not from the previous line.
Squares too big. If a whole eye fits in one square, you are back to drawing by eye. Make the squares smaller where the detail is.
Pressing hard on the grid. Grid lines that will not erase show through watercolour and light pencil shading forever.
Drawing details inside the squares. The grid is for placement. Details come after the grid is gone.
Trusting the grid instead of looking. When the finished drawing looks wrong, it usually is. The grid got the positions right; your eye still has to judge the whole.
Grid vs AR tracing on paper
Grid method | AR tracing (phone camera) | |
|---|---|---|
Setup | 15–30 min of ruling and numbering | 1–2 min: load the image, set the size and opacity |
Accuracy | High if the grid is accurate | High while the sketch stays locked to the sheet |
Leaves marks to erase | Yes | No |
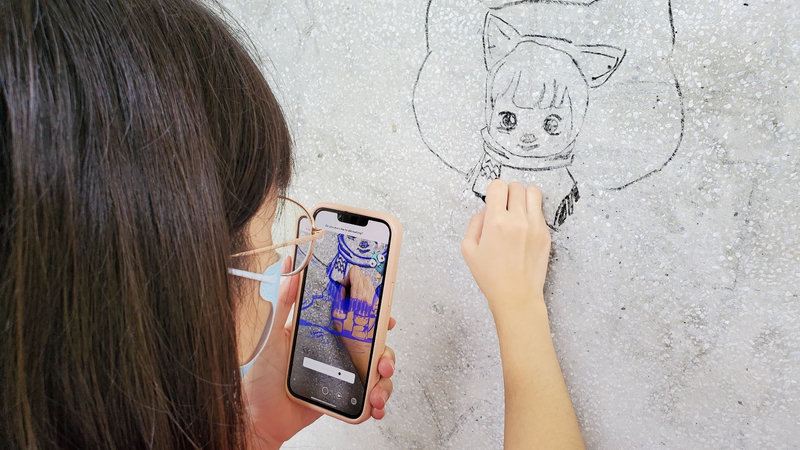
Works on canvas, fabric, wood | Yes, if you can draw a grid on it | Yes, anywhere the camera can see the surface |
Trains your eye | Yes, square by square | Only if you look at the reference, not just the line |
Needs | Ruler, hard pencil, eraser | A phone and good light |
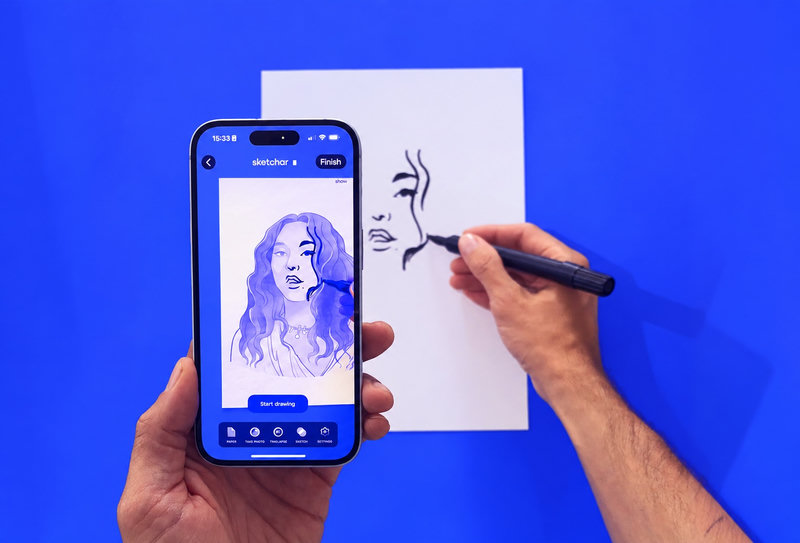
AR tracing skips the grid entirely: the phone camera shows the reference on the paper at the size you choose, pinned to the sheet so it stays put while your hand moves.
How that works, and the lighting and paper mistakes to avoid, is in How to trace a drawing with your phone camera. Which paper tracks best is in Best paper for AR drawing.
Does the grid method help you learn to draw?
Yes, in one specific way: it forces you to see edges and angles instead of "a nose" or "a hand". That is the skill behind every accurate drawing. It does not teach you to judge proportion by eye, because the grid judges for you.
AR tracing is the same tool with the setup removed. Used passively – follow the line, do not look – it teaches nothing. Used actively – trace once, then redraw the same subject freehand and compare – it is the fastest feedback loop there is, because you can see your error against the reference on the same sheet. The lessons inside Sketchar are built on that loop: trace the step, then draw it, 1,000+ times over if you like. Start with the guide to learning to draw with AR.
FAQ
What is the grid method in drawing? A way to copy or scale an image by drawing the same grid of squares over the reference and the paper, then copying the contents of each square in turn.
How do you scale a drawing with a grid? Divide the finished size by the reference size to get the scale factor, then multiply the reference square size by that factor for the paper squares. A factor of 3 turns 2 cm squares into 6 cm squares.
Is using a grid to draw cheating? No more than using a ruler. It has been standard practice since the Renaissance. The result is still your line; the grid only tells you where it goes.
What size should grid squares be? Small enough that no square contains a whole feature. On an A4 reference, 2 cm is typical; use 1 cm over faces and hands, 3–4 cm over plain backgrounds.
Is there an app that does the grid method for you? Many photo apps add a grid overlay to the reference. An AR drawing app goes one step further and places the reference on the paper itself, so there is no grid to draw or erase.
Skip the grid. Sketchar puts the reference on the paper through your phone camera, pinned in place while your hand moves. Trace it, then draw it freehand and compare. Try AR drawing
▋